
Claude Website Workflow
Nov 9, 2026 · 18 steps

Claude Code can build a whole website from one prompt. The problem is that it usually looks like every other AI website.
This guide is the full workflow I use to fix that. I'll take you through it with a real example: a landing page for a run club in Paris.
It's the same AI and the same single build prompt. The only things that change are the tools and the preparation you do before Claude writes any code.
What you need
- Stage for the research, strategy, style guide and sitemap. It's a macOS app with a 14-day free trial, then $29/month for the Solo plan.
- Limora AI for on-brand images, the vector logo and the custom illustrations. It's free to try with no card, then $29/month (Starter) or $59/month (Pro).
- Figma for your moodboard. The free plan is enough.
- Arc for the component library. Most components are free, and Arc Pro is a one-time $249.
- Stageshow for the design skill. It's free and open source.
- Claude Code to build the site. It's included in paid Claude plans. I run it inside Cursor, but Codex works too.
Part 1 - Why your Claude websites look generic
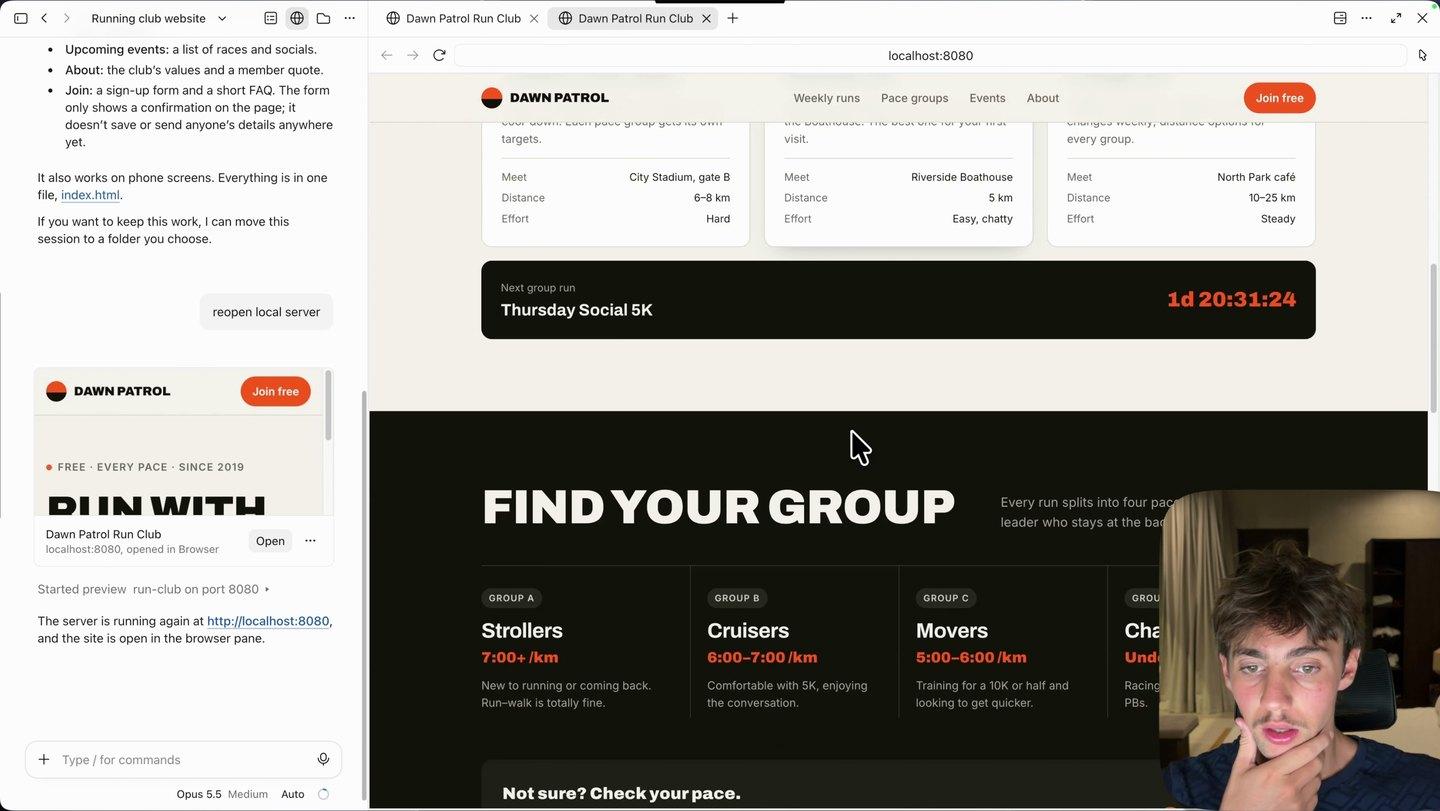
For the first test, I typed the most basic prompt possible into Claude Code.
Create a website for my running club and open it in the local server so I can preview it.
The result works, but you can tell right away that AI built it. The colour contrast is off, the structure is weak and the copy is generic.
That's normal. With a prompt like that, Claude has to guess everything a designer would normally decide first.
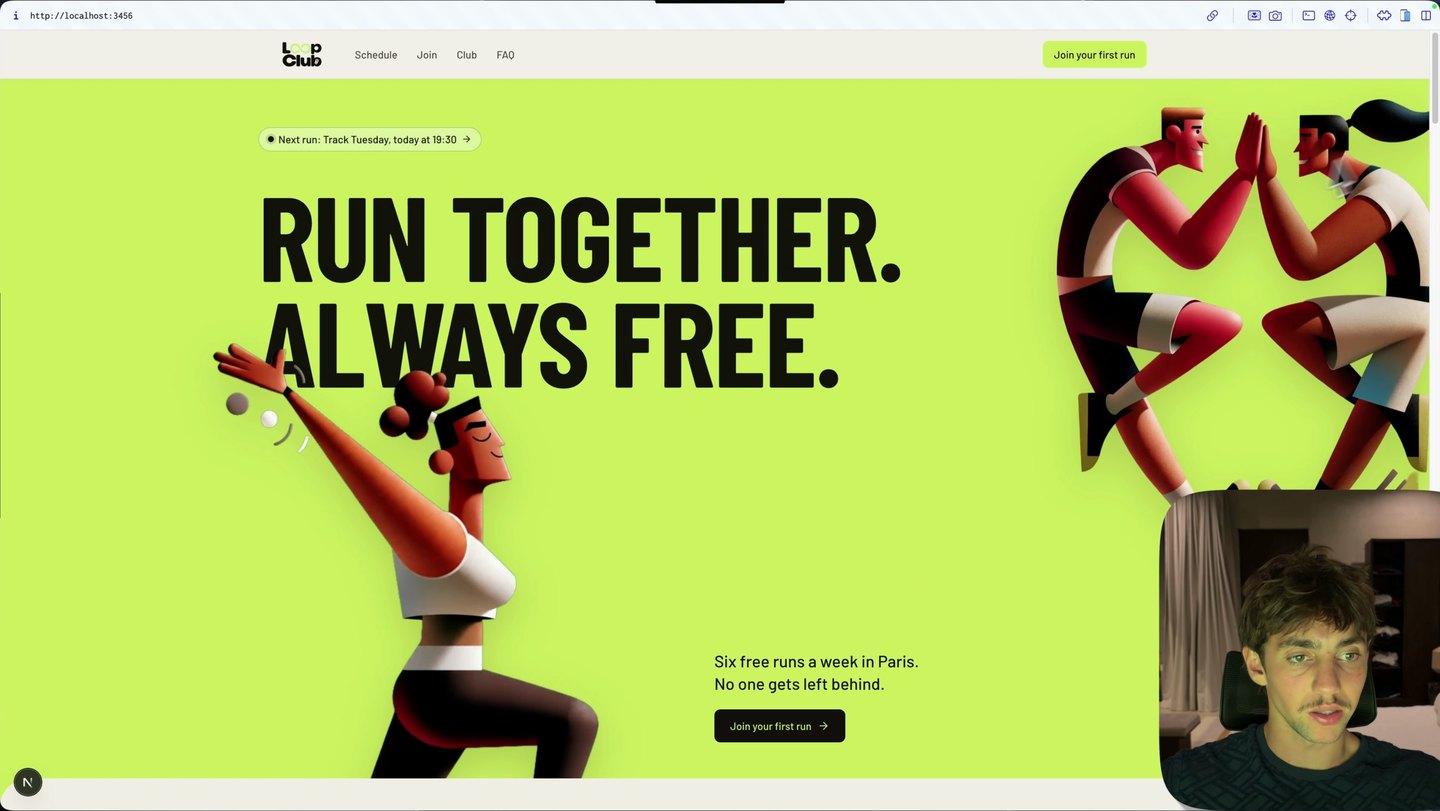
The second site was also built with one prompt. Only two things changed: the tools, and the work done before the build. The rest of this guide is that work, step by step.
Part 2 - Research and strategy: Stage
- 1
Step 1
Create the project
Download the macOS app from getstage.co and create a new project.
Pick the project category. It's Website here, but Stage also handles iOS apps and web apps. Add a timeline if you have one.
The tabs are locked in order on purpose: research, then strategy, moodboard, sitemap and export. Each step feeds the next one.
Connect Claude Code or Codex in Integrations first, and keep Claude Code open on your Mac. Stage uses it to run the research.
- 2
Step 2
Upload your brief
Enter the industry, then upload a brief. A short PDF that explains the project is enough.
If you don't have one, ask Claude to write it for you.
mdI'm building a website for [your business]. Ask me 5 short questions about the audience, the goal of the site, the offer and the tone. Then write a one-page project brief and save it as a PDF.
The more specific the brief, the better everything after it gets. 'Get visitors to join their first run' beats 'a website for a run club'.
- 3
Step 3
Add your competitors and run the research
Paste the links of 3 or 4 competitors. For the run club, I used big clubs that run events worldwide.
Then pick the sections you want analysed. Stage looks through design libraries for the patterns that the most popular sites in your industry use, and adds them to the research.
Click Run research.
This is the thinking Claude skips when you give it a one-line prompt.
- 4
Step 4
Read the research, then generate the strategy
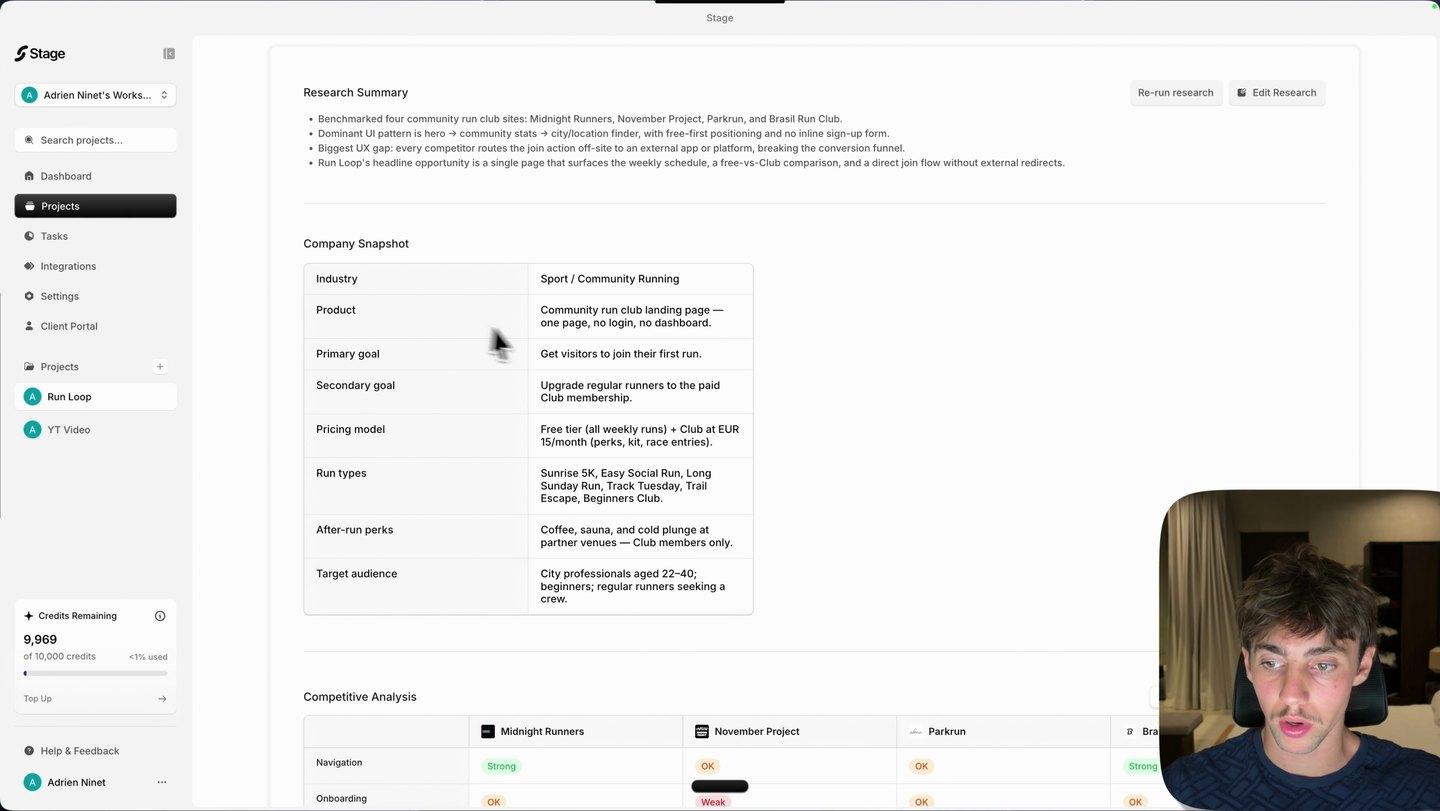
You get a company snapshot, a competitive analysis based on strengths and weaknesses, and real UI patterns from your niche.
Everything is editable. Read it, fix what's wrong, then click Generate strategy to get the design direction and design principles.
You don't need to understand every term. Agencies used to charge $5K-10K for this research and strategy work. The point is that your AI gets it before it designs anything.
Part 3 - Moodboard, style guide and sitemap: Figma + Stage
- 5
Step 5
Collect references in a Figma board
Open a new board in Figma and paste in the images that define the look you want.
For the run club, I picked colourful illustrated icons on a grey and white background, with a minimal style.
Look for references on Pinterest or on design inspiration sites. Search for the section you need, like a hero or a pricing table, not for a whole site.
Pick references that share one style. Mixing five different looks gives Claude five different answers.
- 6
Step 6
Import the board into Stage
In Figma, click Share and copy the link.
In Stage, open the moodboard tab, choose Figma link, paste it and click Import. Every image in the board comes in.
Select the images you like, click Add to direction, and create a new direction with a name.
- 7
Step 7
Generate the style guide
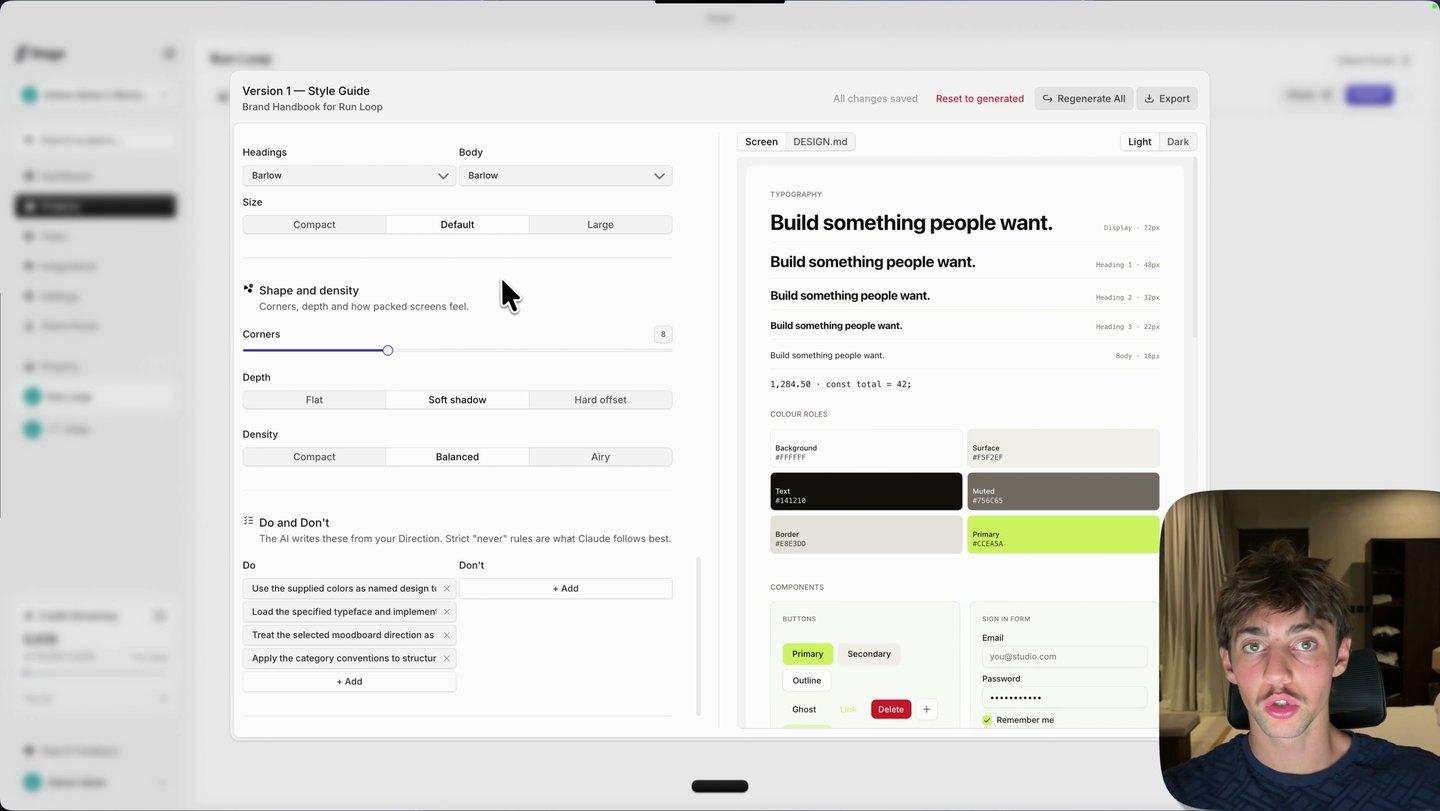
Open the direction and click Generate style guide. You get a full guideline document for your AI: typography, colours, shape and density, and do's and don'ts.
You can add notes on how Claude should use each reference. For example: "I love the hero of this one. I want the same layout."
The preview updates live. Change the primary colour and every component updates with it.
This document is what stops Claude from guessing fonts and colours.
- 8
Step 8
Generate the sitemap
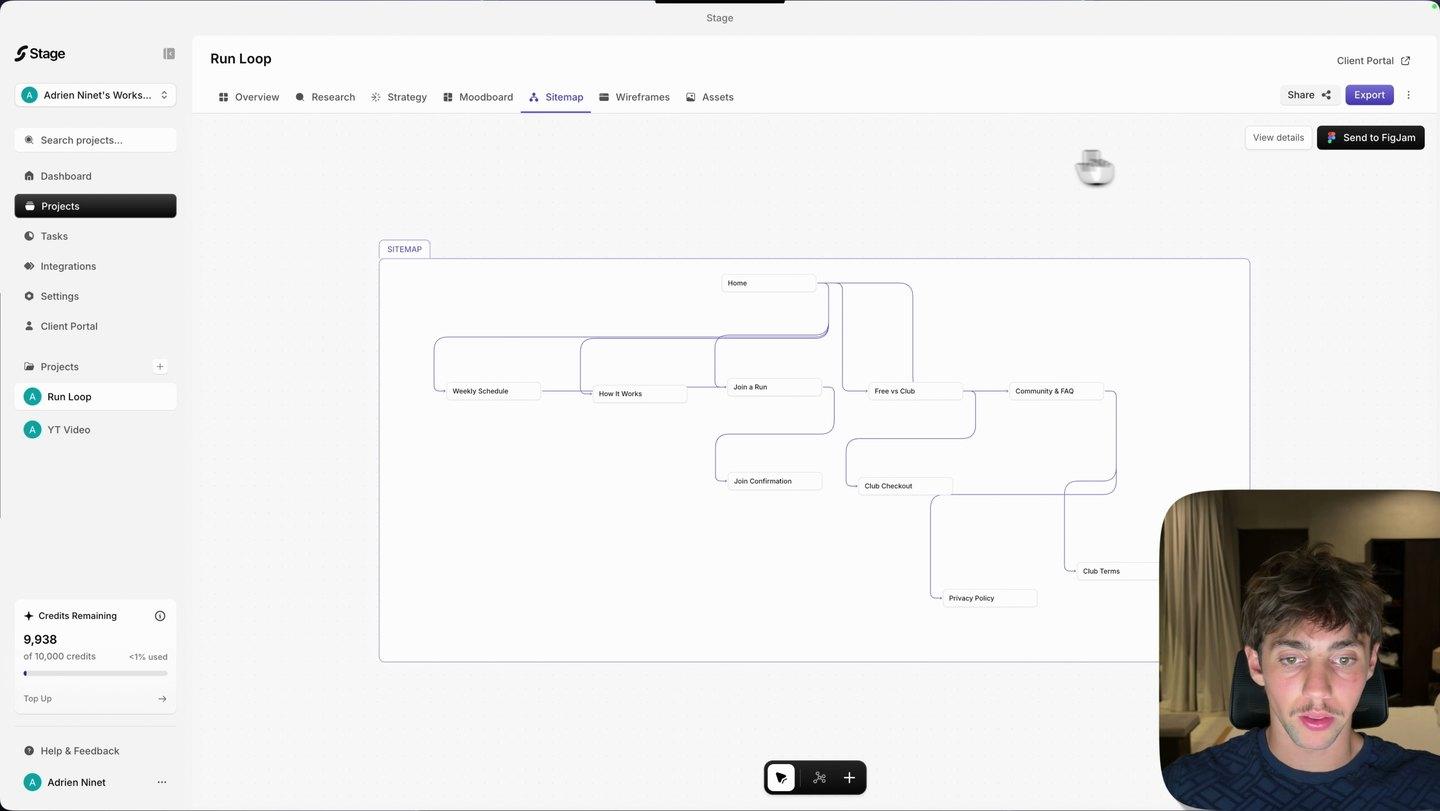
The sitemap is the structure of your website. Stage generates it from everything in the earlier steps.
Double-click a page to see its key elements. For a web app, this step is called Flows instead.
For a single landing page, say so in the brief. The run club sitemap is one page with sections because the brief asked for that.
Part 4 - Design skill and component library: Stageshow + Arc
- 9
Step 9
Add the Stageshow skill
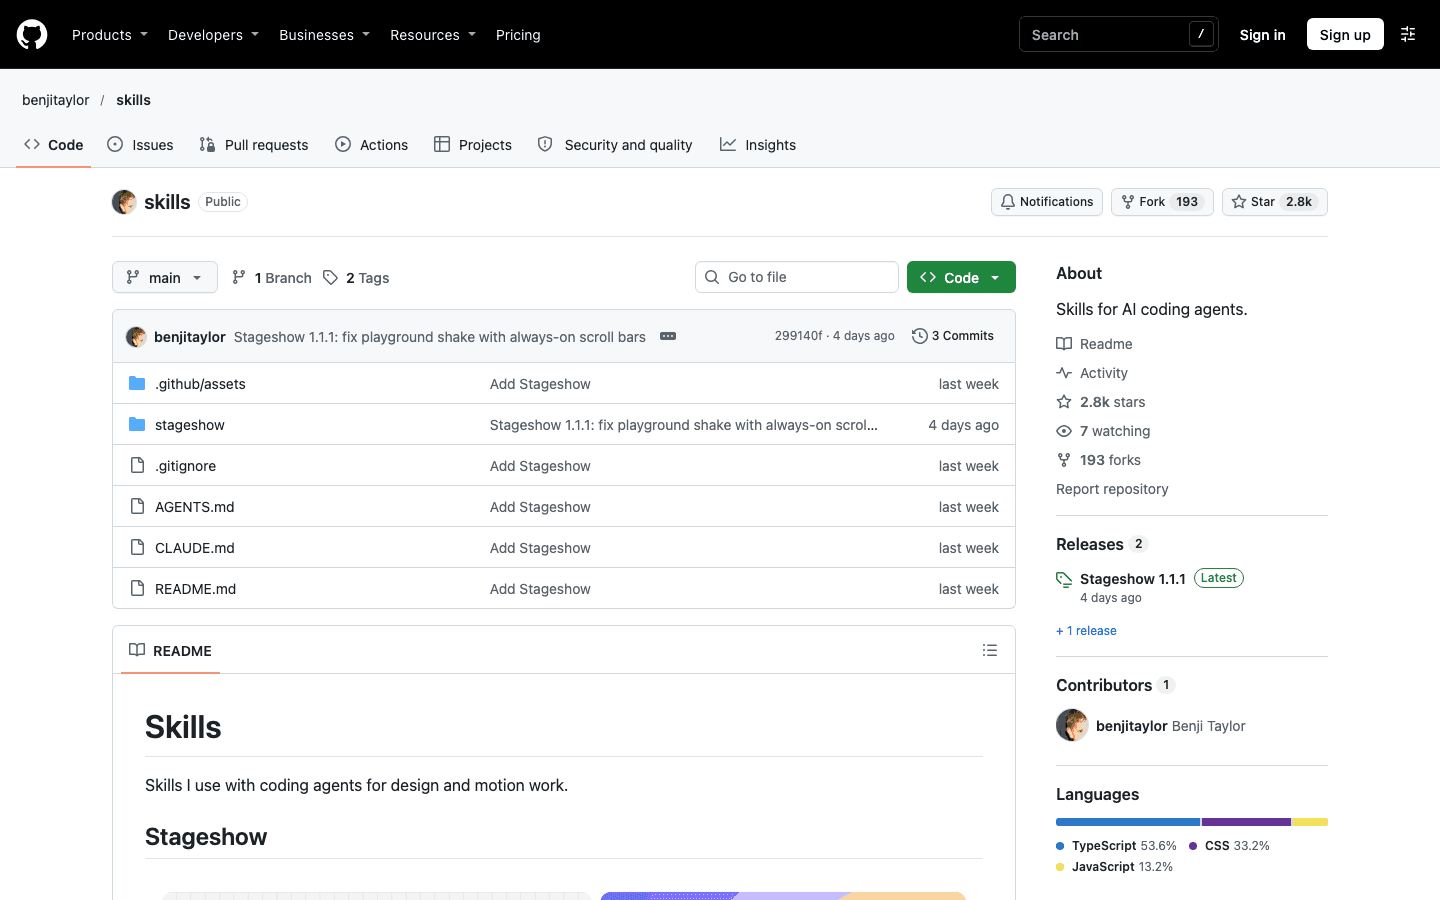
Stageshow is a free design skill by Benji Taylor, head of design at X. It helps your agent build realistic product UI, cursor demos and bento grids, with guidance on composition and motion.
To install it straight into your coding agent:
Terminalnpx skills add benjitaylor/skills --skill stageshow
To use it in Stage, go to Integrations > Skills > Import, paste https://github.com/benjitaylor/skills and click Import.
Open Stageshow on GitHub - 10
Step 10
Pick a component library
A component library gives Claude polished, animated buttons, inputs and menus to build with, instead of plain defaults.
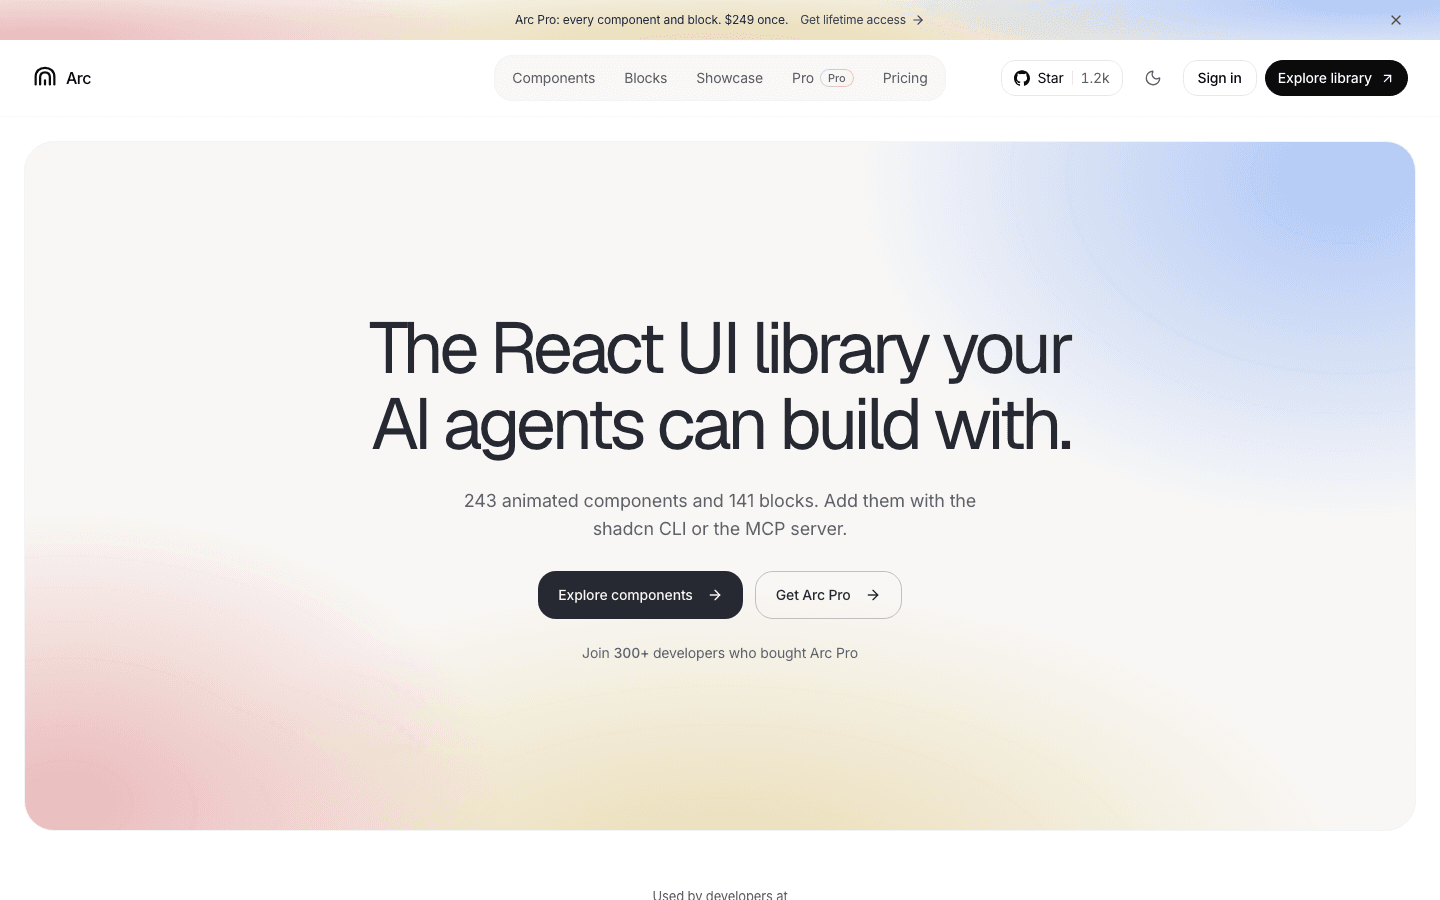
I used Arc: 243 animated React components and 141 blocks, which you can add with the shadcn CLI or Arc's MCP server. The attention to detail is what makes the final site feel premium.
In Stage, go to Integrations > Components > Import, paste the library link and turn on its toggle.
Terminalpnpm dlx shadcn@latest add @uiarc/password-strength
Explore ArcThat command adds one component by hand, so you can see how the install works. Once Stage hands Arc to Claude, Claude picks the components it needs.
Part 5 - Build it: Claude Code
- 11
Step 11
Export the project
In Stage, click Export. Select the pages, the Stageshow skill and the Arc library, then choose your tool: Cursor, Claude Code or Codex.
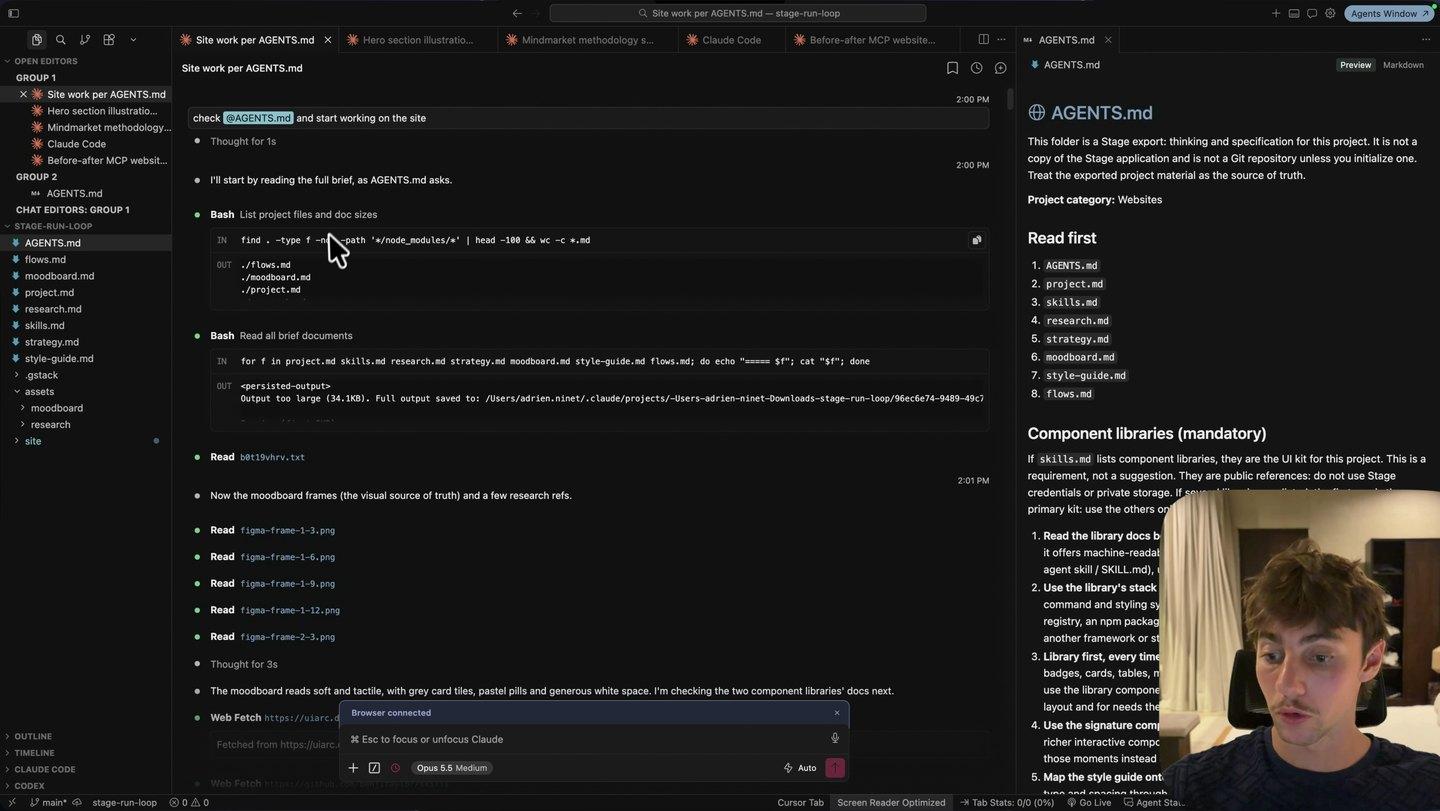
You get the whole project as markdown files, including the style guide, the research, the sitemap and every moodboard image.
You don't need to read them. The key file is AGENTS.md, which tells the AI how to use all the others.
- 12
Step 12
Run one build prompt
Open Claude Code in the exported folder and send this:
mdRead AGENTS.md and start the build.
That's the whole prompt. Claude reads every moodboard frame, the component library and the style guide, and maps components to each section of the site.
The preparation is now the prompt. That's why one line is enough, and why you won't burn credits iterating.
- 13
Step 13
Answer Claude's questions
Before building, Claude asks a few questions, a bit like a designer would. Answer them properly.
In my build, Claude also spotted the illustration style in the moodboard and chose a matching style for the images on its own.
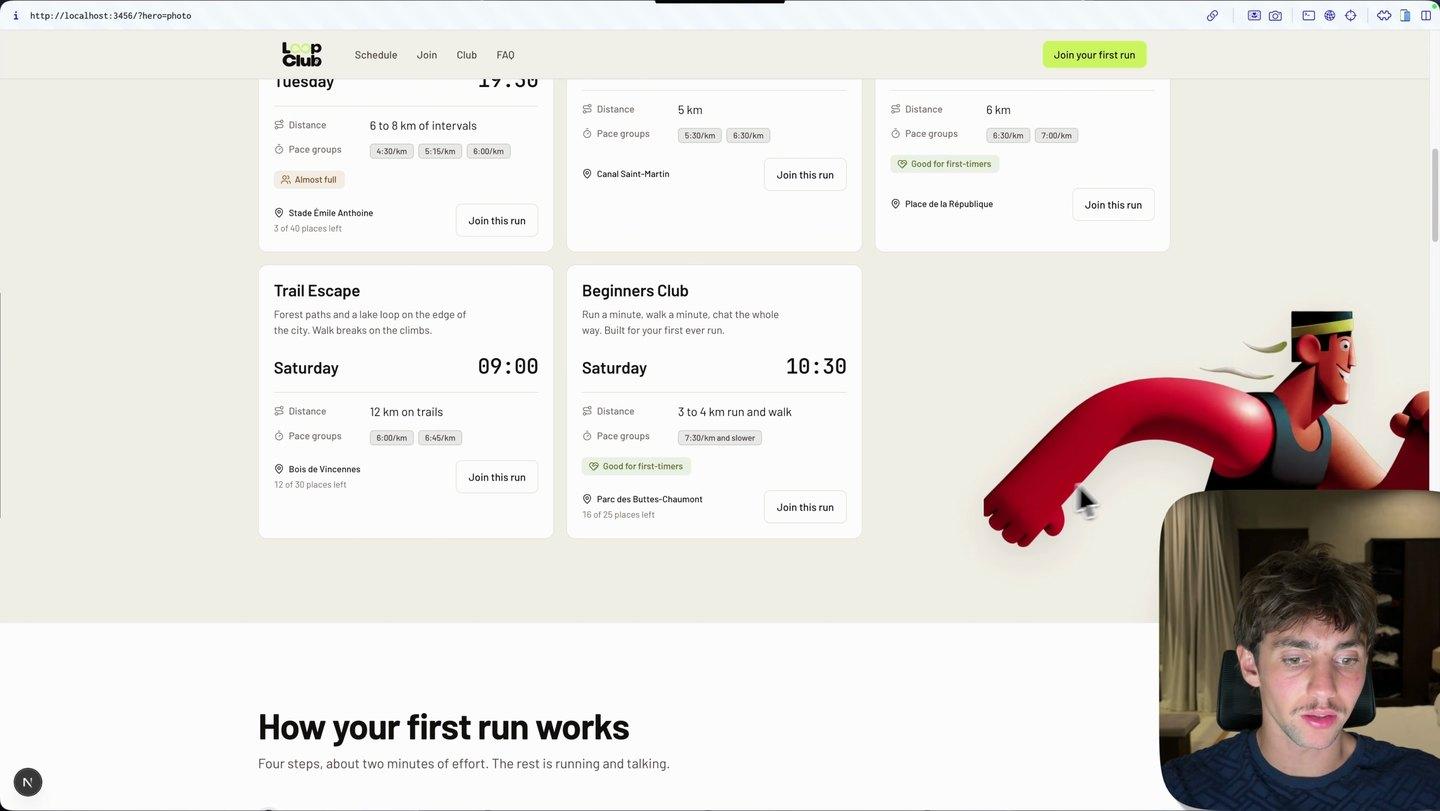
The first result, from one prompt.
Part 6 - Custom visuals: Limora AI
- 14
Step 14
Connect the Limora AI MCP
Run this in your terminal:
Terminalclaude mcp add --transport http limora https://app.limora.ai/mcp
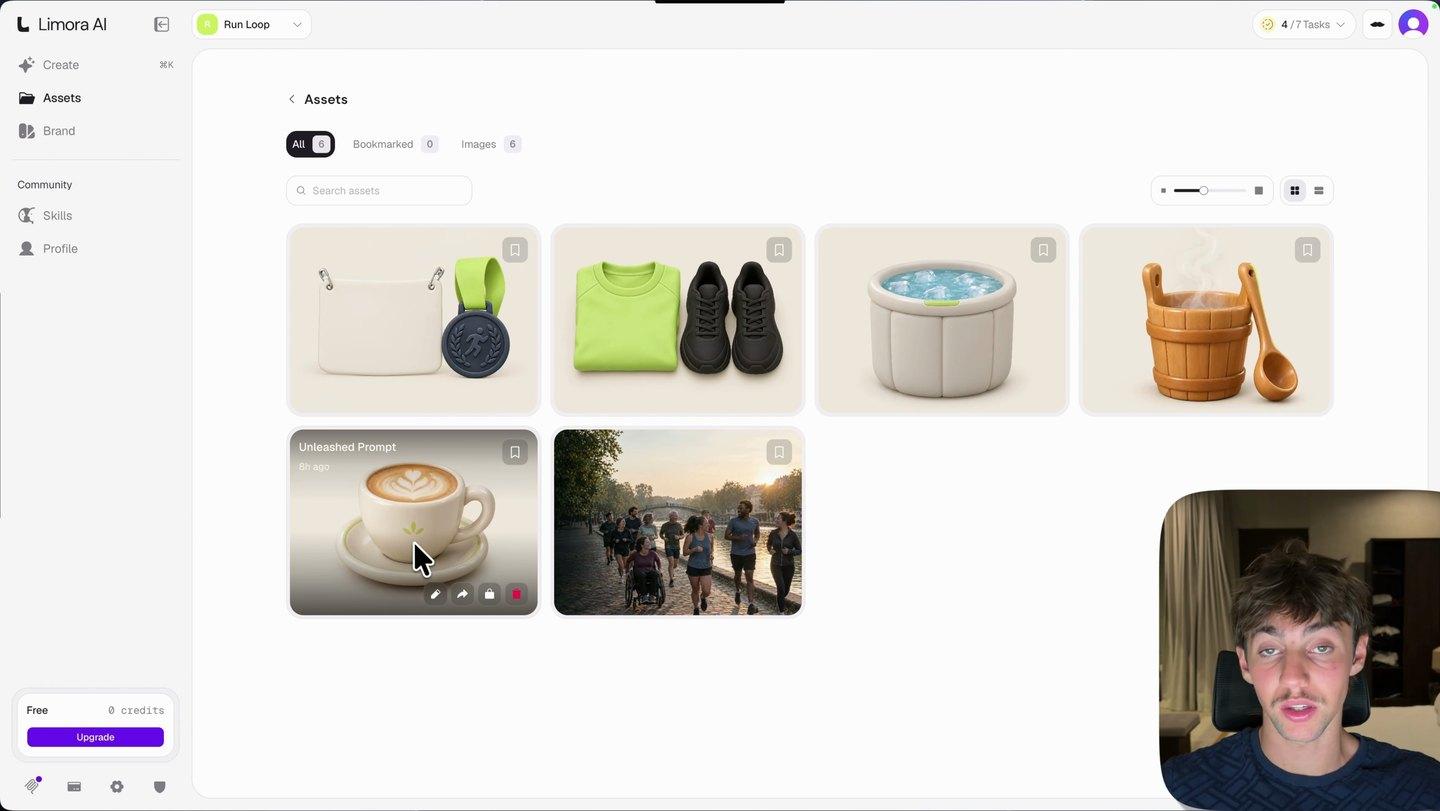
Your first request opens a Limora AI window in the browser, and you sign up there with email or Google. There's no card, and your first three assets are free.
It also works in Cursor, Codex and Claude Desktop.
Try Limora AI for free - 15
Step 15
Generate on-brand images in one prompt
With the MCP connected, Claude creates a Limora AI project with your brand: industry, tagline, fonts and colours. Then it lists every image the site needs and generates them all.
Every image used the run club's green primary colour, so they all fit the site without edits.
mdUse Limora AI to create a project for this site with our brand colours, fonts and tagline. List every image the site needs, generate them in one consistent style, and add them to the right sections.
Unique imagery is the fastest way to stop a site from looking like a template.
- 16
Step 16
Make an animated vector logo
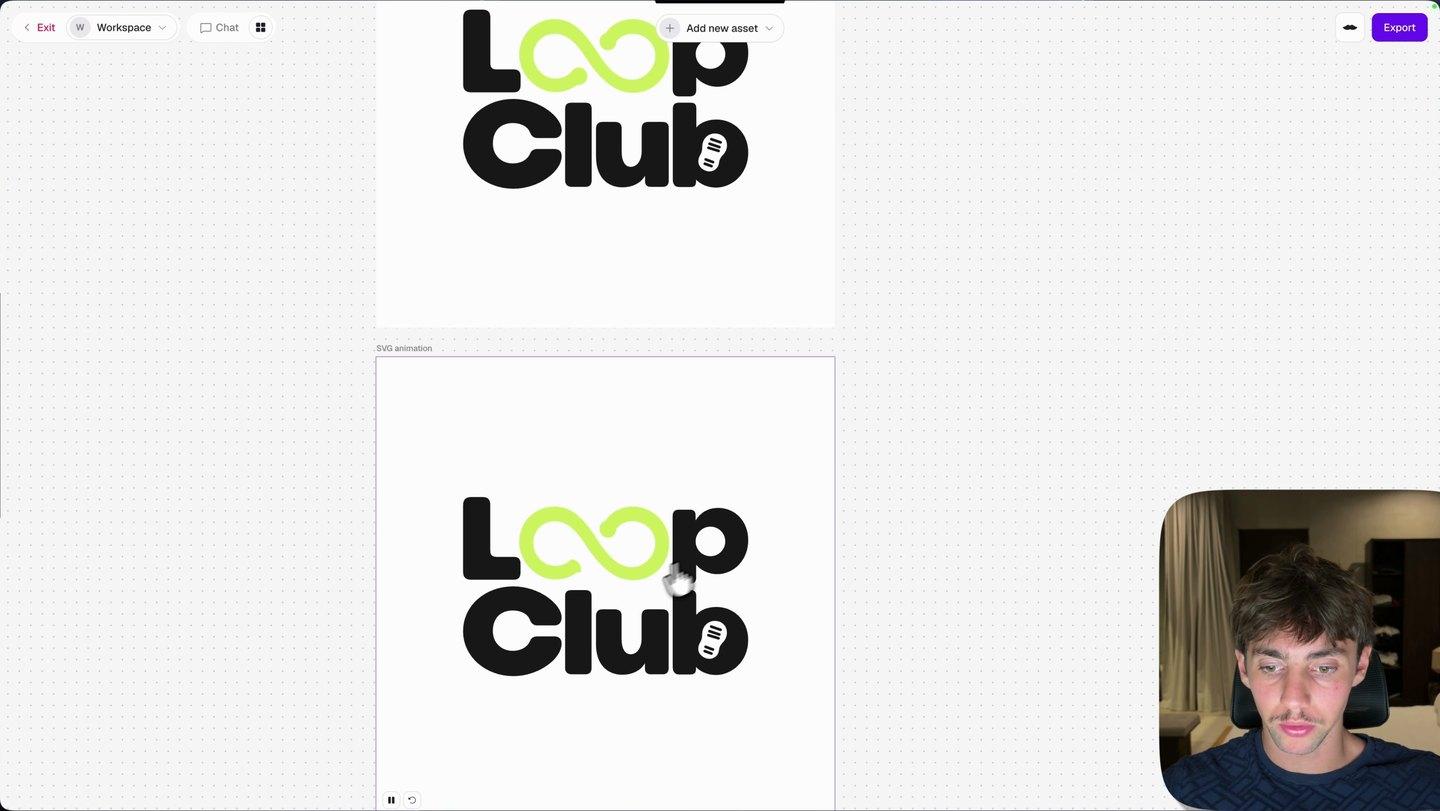
A looping logo animation only works with a vector, not a PNG. In Limora AI, choose Vector, describe the logo and generate it. You get an SVG you can still edit.
Iterate until it's right. I asked for a running foot inside the logo, then asked Limora AI to animate it smoothly.
mdDownload the SVG logo from my Limora AI project. Use it as the site logo, and as a smooth looping loading animation.
Because the MCP links everything, Claude pulls the file straight from your Limora AI project.
- 17
Step 17
Create a style and generate illustrations
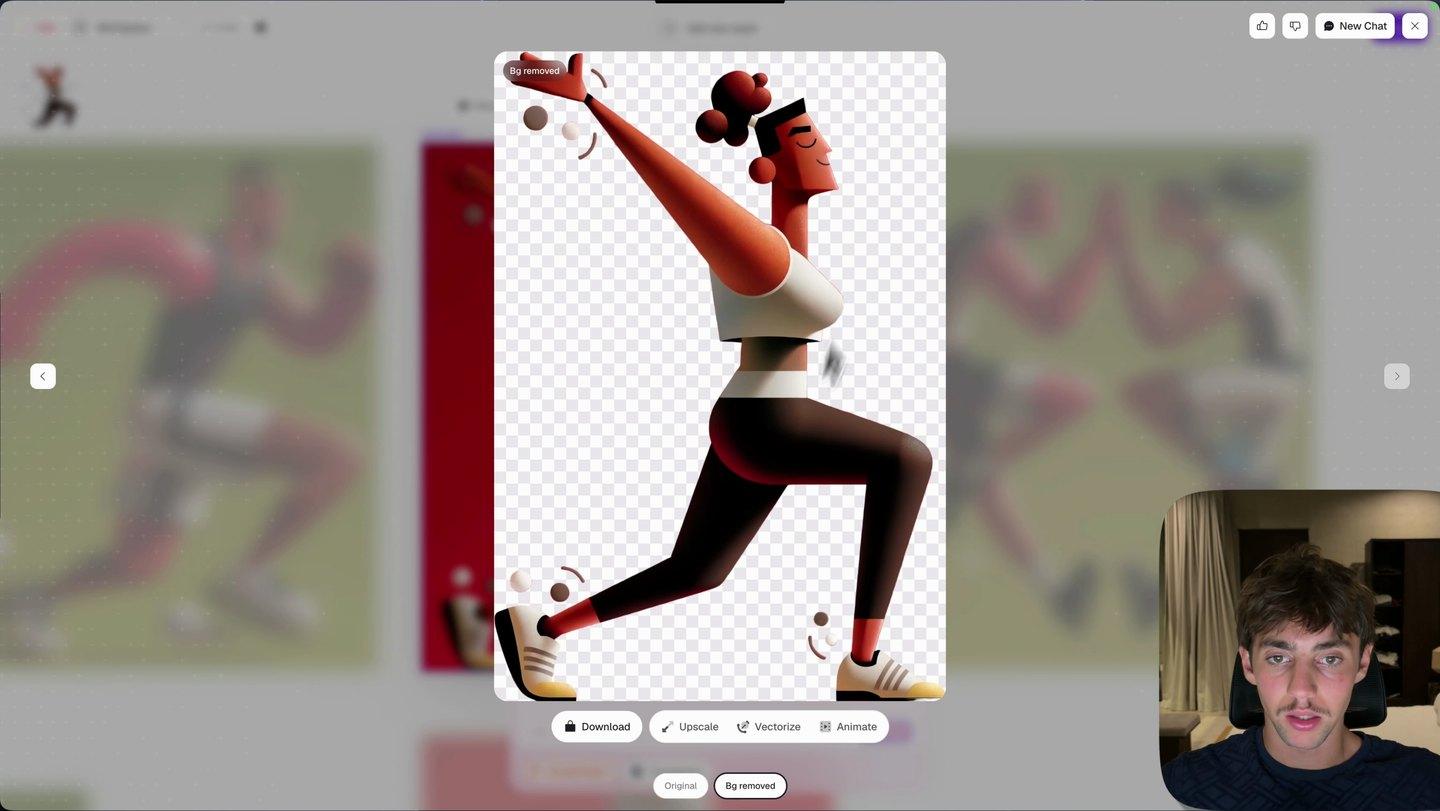
In Limora AI, create a Style from a few reference illustrations you like. Then ask Claude to generate illustrations for the site in that exact style.
mdUsing my Limora AI style "[style name]", generate [3] illustrations for the hero and the key sections: [describe each scene]. Keep the brand colours.
If the first result is close but not right, iterate on it instead of starting over. Then click Remove background so it sits cleanly on the page.
Editing an image costs about half the credits of a new one, and you keep what already worked.
- 18
Step 18
Animate it with the green-screen trick
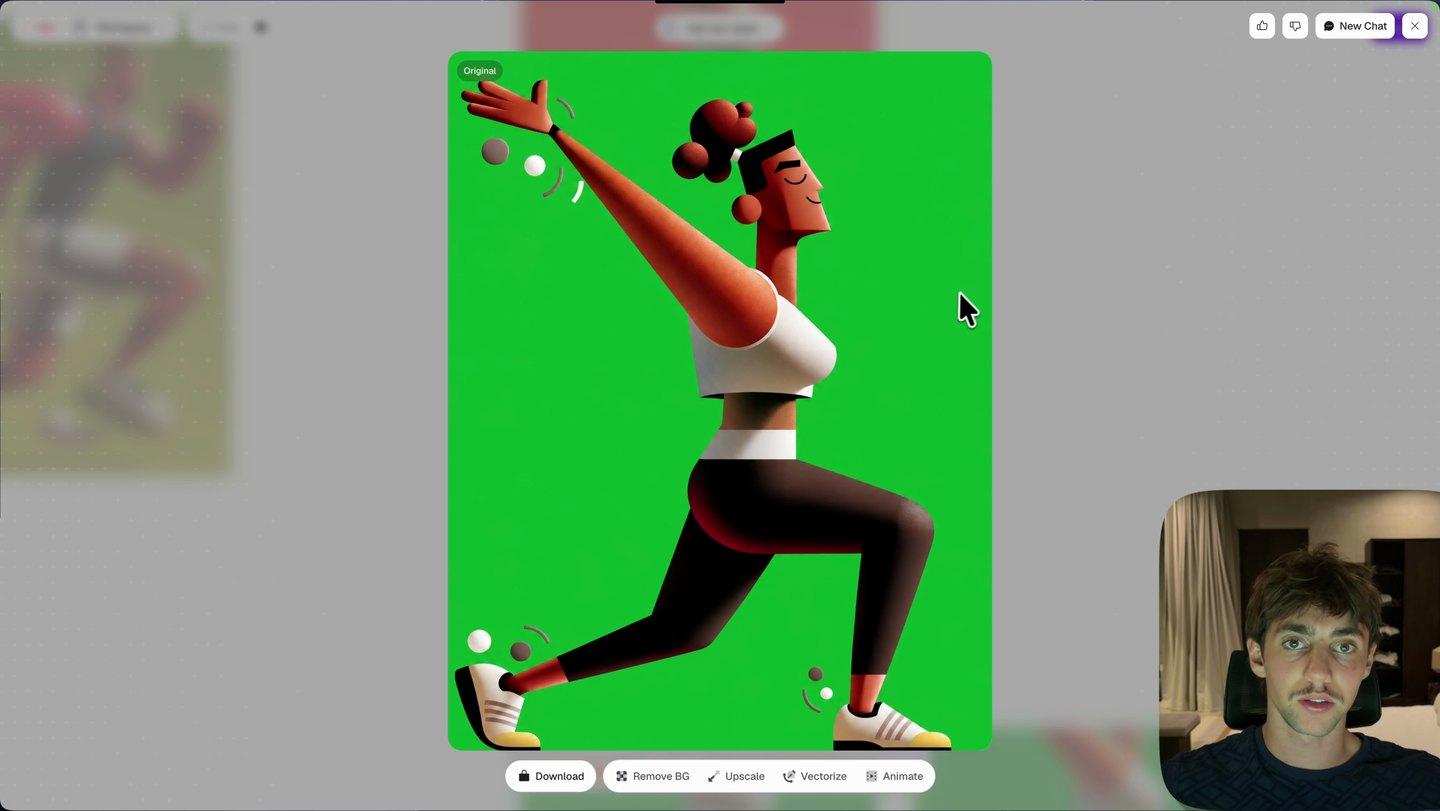
AI video models can't generate a transparent background yet. So you generate the image on solid green, animate it, and remove the green afterwards.
mdMake a variation of this illustration on a solid, flat #00FF00 green background. Same pose, same style, no shadows on the background.
Animate that image with any AI video model you like. Then put the video in the project and ask Claude to remove the green.
mdRemove the solid green background from [video file] so it's transparent, and use it as the animated hero illustration. Export a web-friendly format with an alpha channel.
A flat green background is easy for Claude to key out cleanly. That's the whole trick.
Part 7 - Get the tools I used
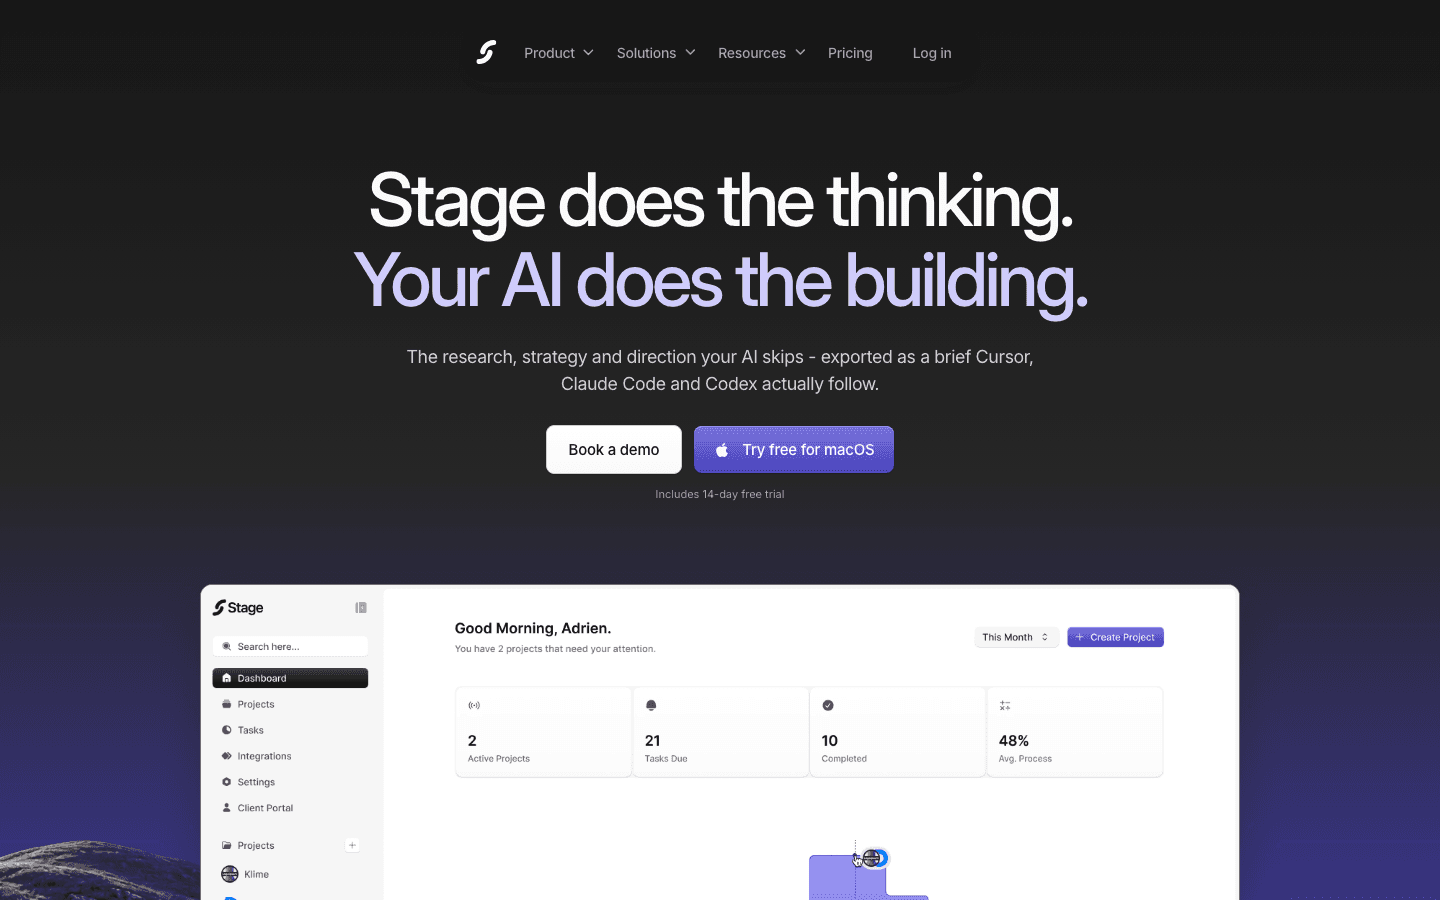
Stage does Parts 2 and 3 for you: the research, the strategy, the style guide and the sitemap, exported as a brief that Claude Code, Cursor and Codex actually follow. Try it free for 14 days.
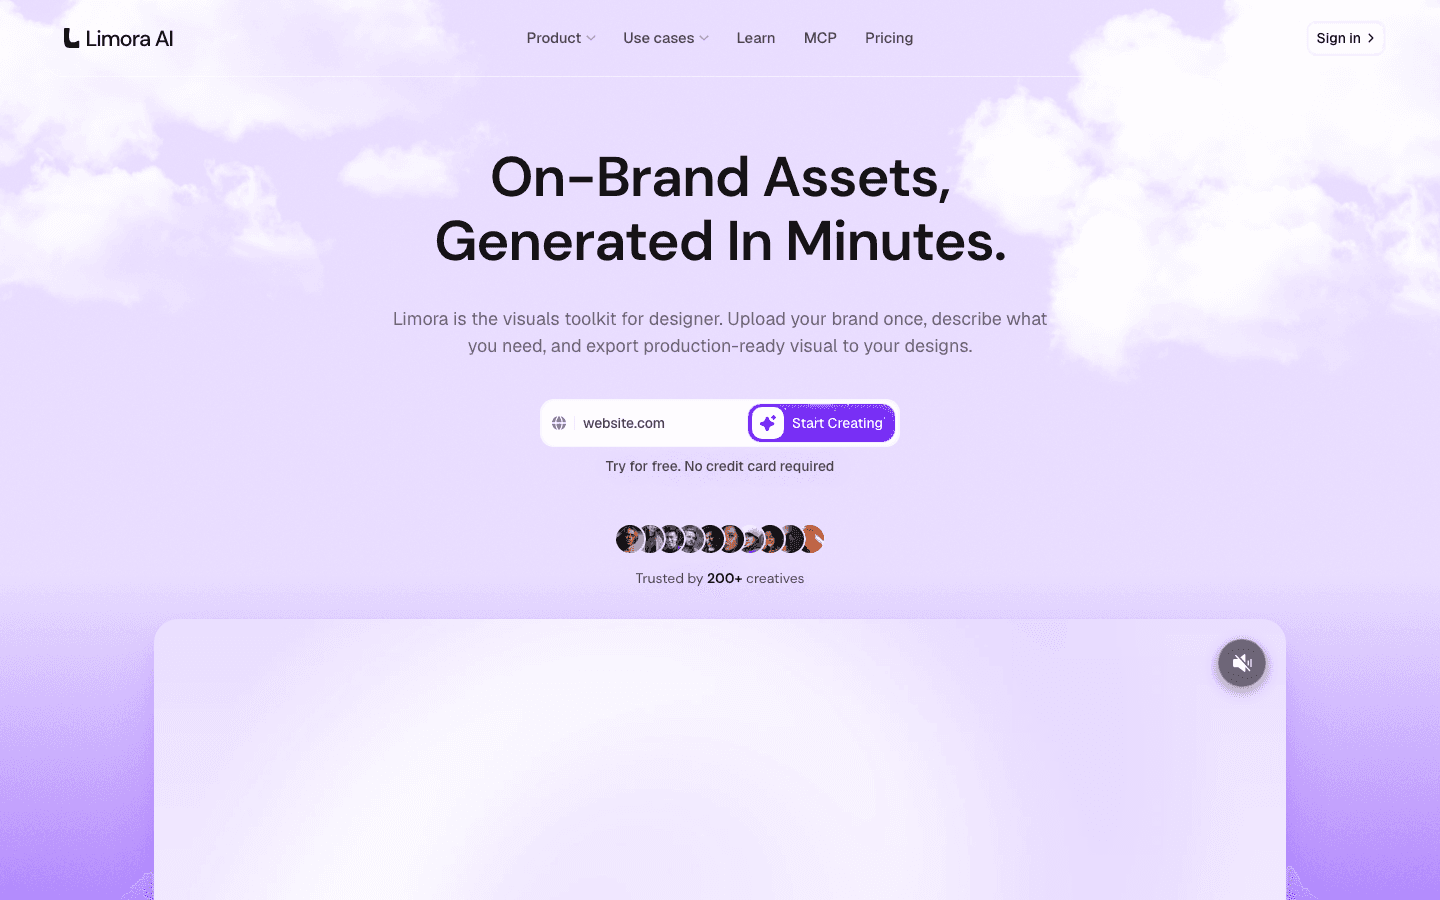
Limora AI does Part 6 for you: on-brand images, vector logos, illustrations in your own style and background removal, right from Claude Code. Try it for free, then get 20% off the Pro annual plan with code ADRIEN20.
Tips
- Do the research and the moodboard before you open Claude Code, because the build is only as good as the context you give it.
- Keep your references to one consistent style so Claude gets one clear direction.
- Say in the brief whether you want a single landing page or a full site, because it changes the whole sitemap.
- Use custom illustrations and motion in the hero, because that's the first thing visitors see and the part that most often looks generic.