
Fix Your Vibe-Coded App
Oct 28, 2026 · 17 steps

Apps built by asking an AI to write the code tend to look the same. You get purple gradients, random emojis and the same card layout on every screen.
This guide is the five levels I use to fix that. Each level builds on the one before it, so work through them in order on the same app.
You don't need to do all five today. Level 1 and Level 2 take about ten minutes and already remove most of the AI look.
What you need
- Impeccable for the design skill. It's free and open source.
- shadcn.io DESIGN.md files for a ready-made design system. They're free and need no account.
- Details for website inspiration. You can browse for free, and Pro is $9/month.
- Refero for real app screens and flows. There's a free plan with limited search, and Pro is paid.
- Design Spells for micro-interactions. It's free to browse.
- Stage to do the research for you. It has a 14-day free trial, then starts at $29/month.
- UI Arc for animated components. 120 components are free, and Pro starts at $149/year.
- Bklit UI for designed charts. It's free under the MIT license.
- Limora AI for custom images and icons. You can try it for free, then plans start at $29/month.
- Claude Code, Cursor or Codex to build the app.
Part 1 - Kill the default AI look: Impeccable
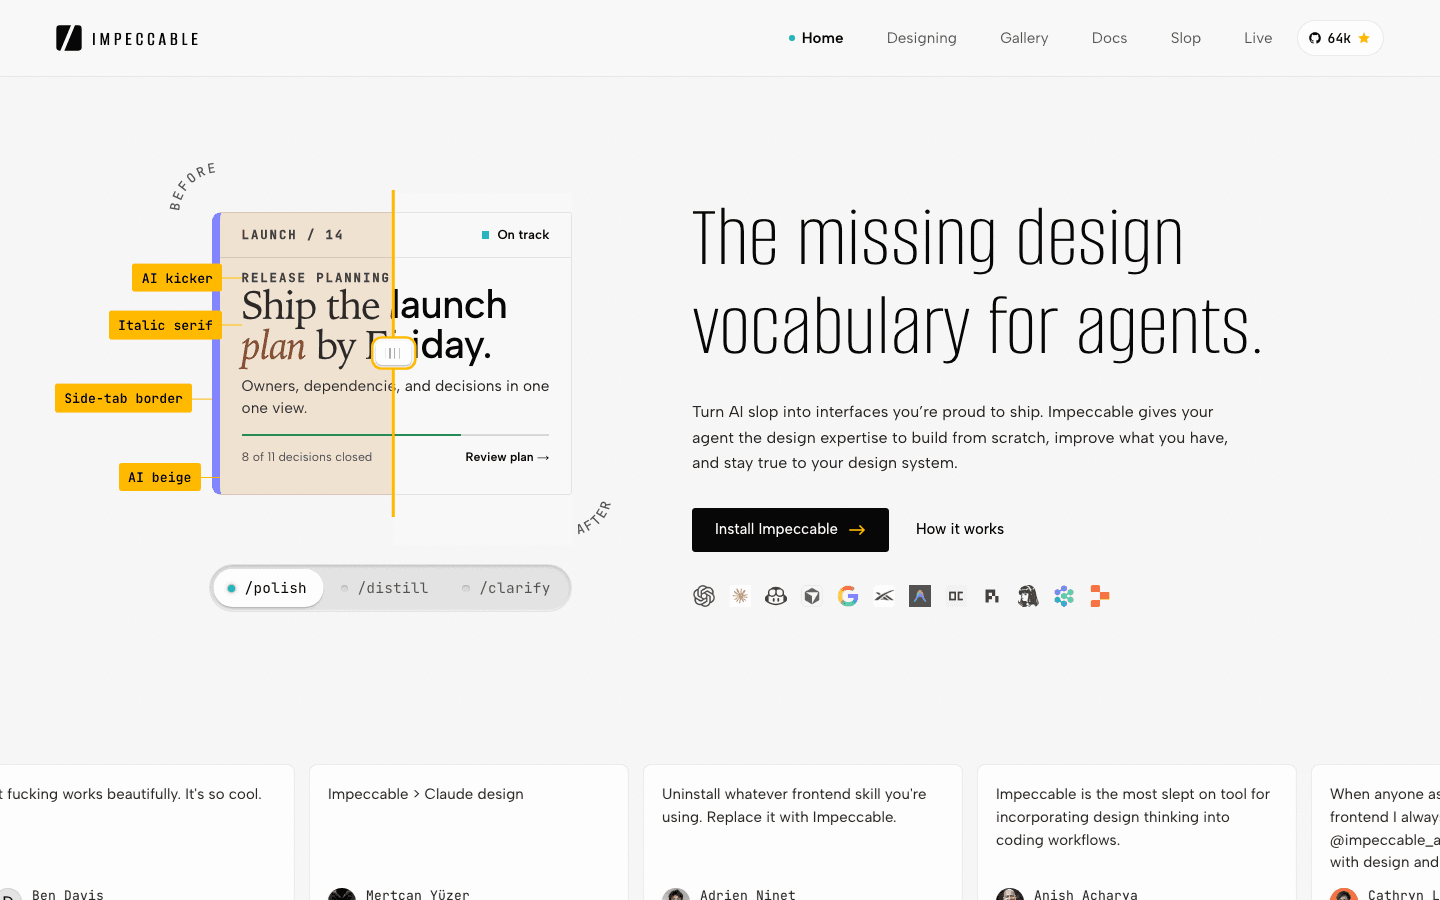
A design skill is a set of instructions your AI coding tool loads before it writes any interface code. Impeccable teaches it what AI slop looks like, so it stops producing it.
- 1
Step 1
Install Impeccable in your project
Open a terminal in your project folder and run the installer. It asks which coding tool you use and sets everything up for it.
Terminalnpx impeccable install
In Claude Code you can also install it as a plugin. Run the first command, then open
/pluginand install Impeccable from the list.Terminal/plugin marketplace add pbakaus/impeccable
Reload your coding tool after installing, or the skill won't show up.
- 2
Step 2
Set it up for your app
Run the init command once. It reads your project and saves the context Impeccable needs for every later command.
Terminal/impeccable init
Then turn on the hooks, so it checks the design automatically each time your AI edits the interface.
Terminal/impeccable hooks on
- 3
Step 3
Audit and polish the screens you already have
Ask for an audit first, so you see everything that reads as AI-generated. Then let it fix the screens one at a time.
mdUse Impeccable to audit [the dashboard screen]. List every pattern that makes it look AI-generated: gradients, emojis used as icons, generic card grids, inconsistent spacing and weak typography. Then run /impeccable polish on that screen and fix each issue. Keep the layout and the features exactly as they are. Only change the design.
Do one screen per prompt. A whole-app polish in one go gives you shallow fixes everywhere.
Part 2 - Write your design rules once: DESIGN.md
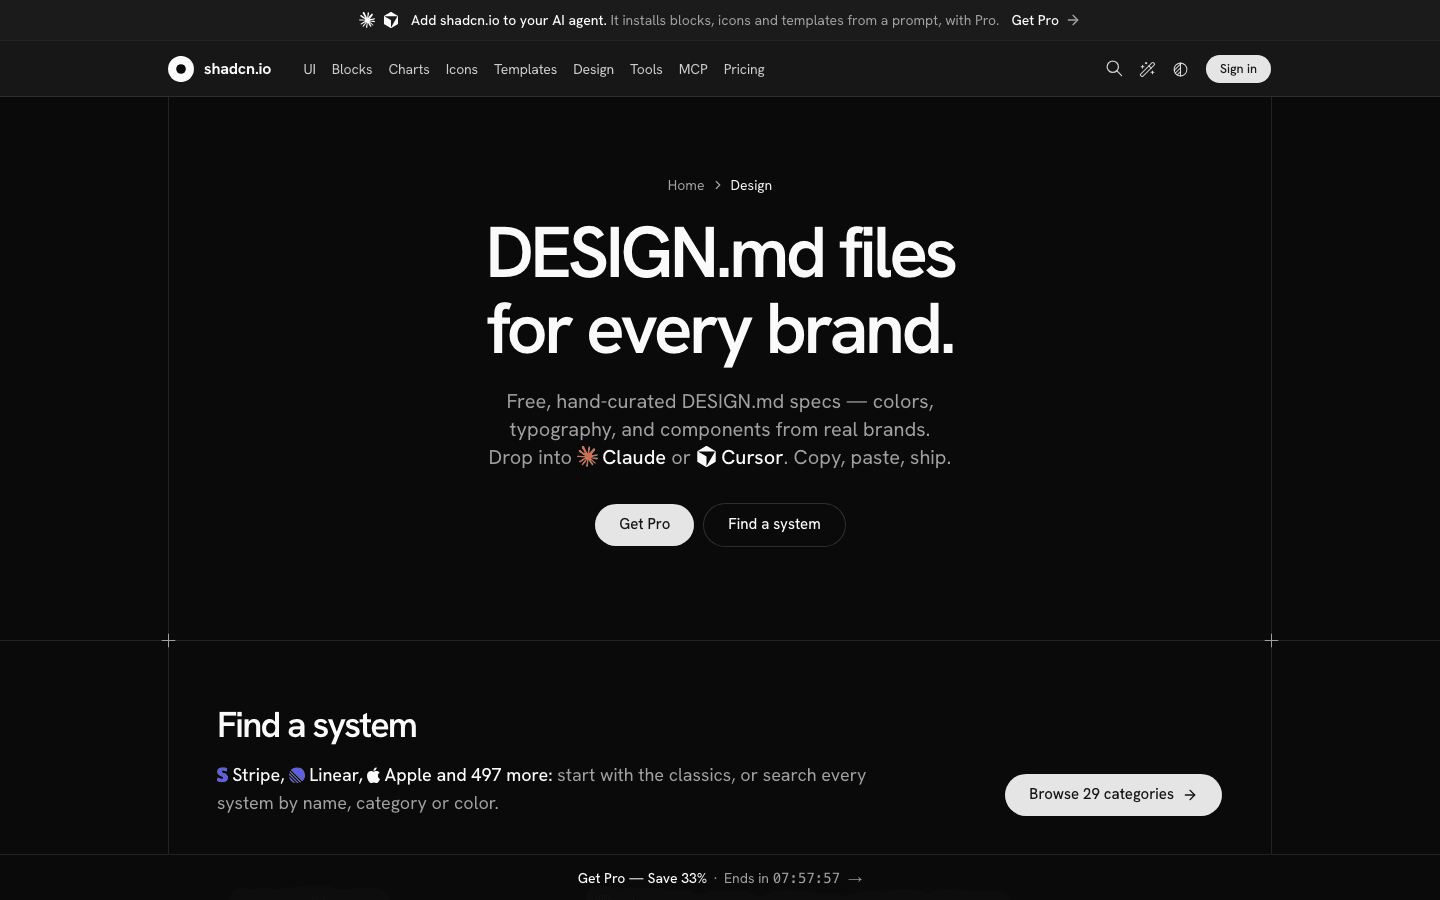
A DESIGN.md file holds your colors, fonts, spacing and component rules in one place. When your AI reads it before every screen, every screen ends up looking like the same product.
- 4
Step 4
Start from a brand close to your style
Go to shadcn.io/design and search for a brand whose look is close to what you want, like Stripe, Linear or Apple.
Click Download DESIGN.md and save the file at the root of your project as
DESIGN.md.These files are a starting point. Your app should never ship with another brand's exact colors and fonts.
- 5
Step 5
Make it yours
Ask your AI to rewrite the file with your own brand, while keeping its structure.
mdRewrite DESIGN.md for my brand. Keep the exact structure and every section, but replace the values: - Primary color: [#hex] - Accent color: [#hex] - Background and text colors: [light or dark, #hex values if you have them] - Heading font: [font name] - Body font: [font name] - Corner radius: [sharp / slightly rounded / very rounded] - Mood: [3 words, e.g. calm, precise, premium] Derive the rest of the scale (spacing, shadows, component styles) from these choices so everything stays consistent.
- 6
Step 6
Make your AI follow it on every screen
Add one line to your project rules, so the file is read before any interface work. That file is
CLAUDE.mdin Claude Code,.cursor/rulesin Cursor andAGENTS.mdin Codex.mdBefore creating or editing any UI, read DESIGN.md and follow it exactly. Never introduce a color, font, radius or spacing value that isn't defined there.
Impeccable from Part 1 reads your design system too, so the two work together.
Part 3 - Research before you build: Details, Refero and Design Spells
AI designs only as well as the references you give it. Without references it falls back on the average of everything it has seen, which is exactly the generic look.
- 7
Step 7
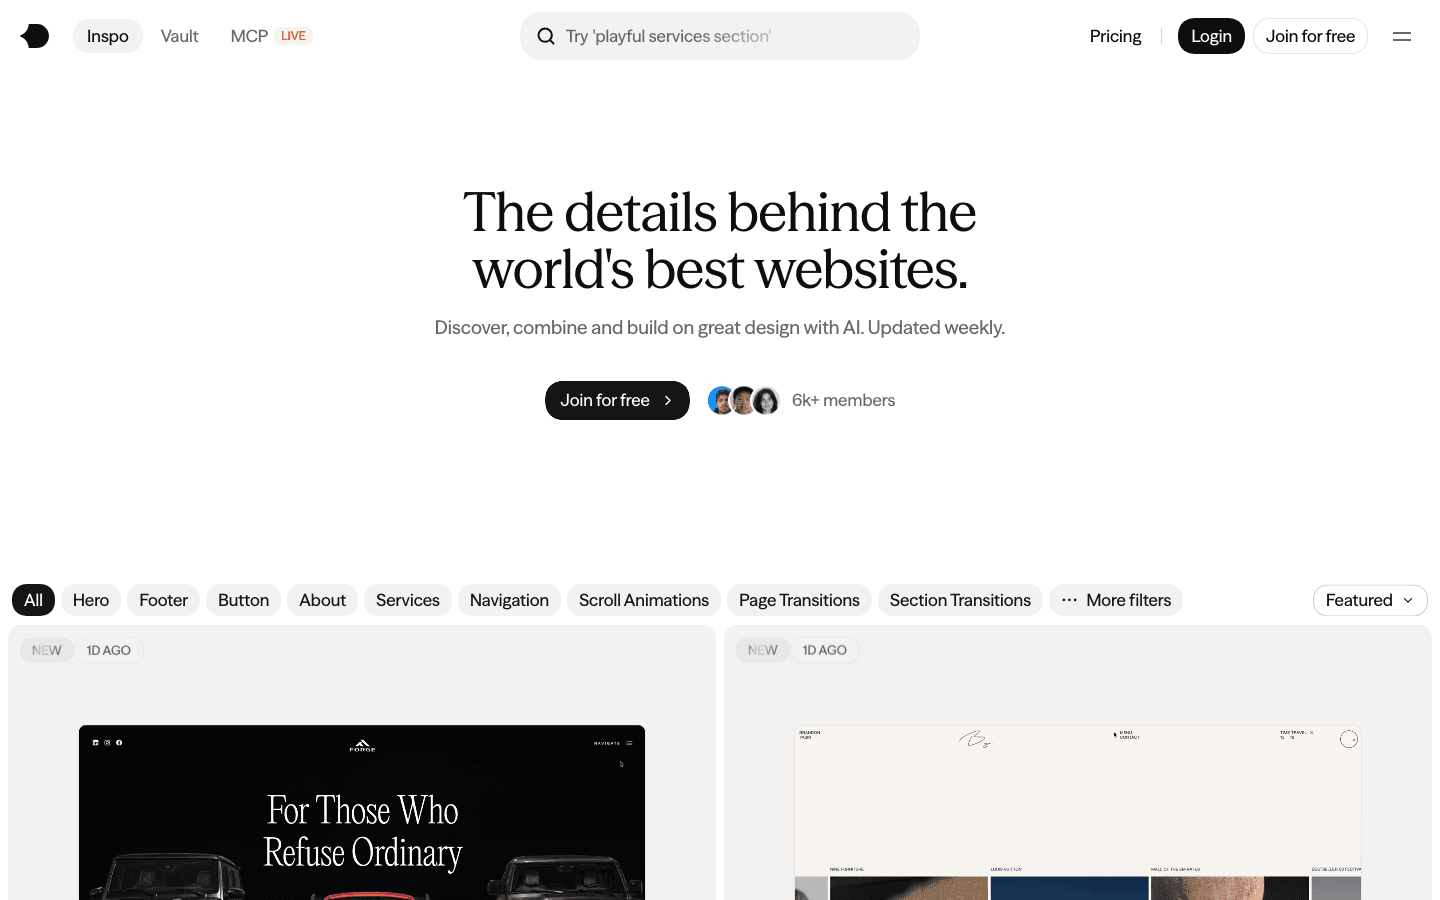
Find website sections on Details
Details is a library of hero sections, footers, navigation and transitions from real production sites. Search by section, not by site, for example "pricing section".
Save two or three examples for each screen you're building.
Open Details - 8
Step 8
Find app screens and flows on Refero
Refero has real screens and full user flows from the best apps. Use it for anything inside the app: onboarding, settings, dashboards and empty states.
Look at the whole flow, not just one screen, so you see how the best products handle each step.
Open Refero - 9
Step 9
Find micro-interactions on Design Spells
Design Spells collects the small details that make an app feel alive, like a button that reacts or a playful empty state.
Pick one or two details for your app. More than that starts to feel busy.
Open Design Spells - 10
Step 10
Give the references to your AI
Drag your screenshots into the chat and tell the AI exactly what to take from each one.
mdI'm redesigning [screen name]. I attached [number] references. From reference 1, take [the layout / the hierarchy / the spacing]. From reference 2, take [the navigation / the card style]. From reference 3, take [the hover interaction]. Don't copy any of them. Combine these ideas into one screen that follows DESIGN.md.
Saying what to take from each reference matters more than the references themselves.
- 11
Step 11
Or let Stage do the research for you
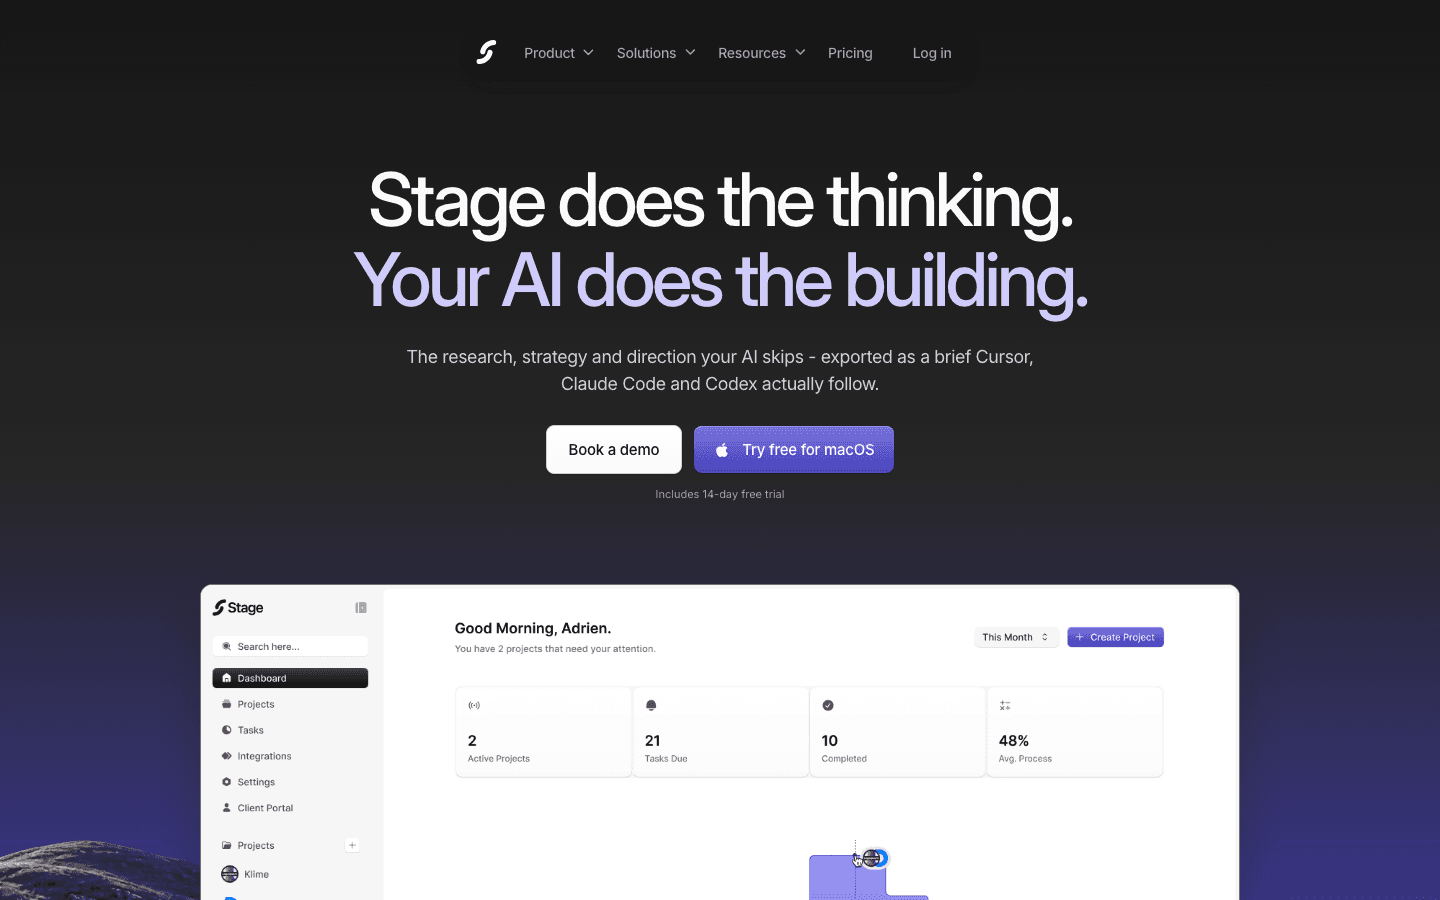
Stage turns research into a brief your coding tool follows. Doing this research for every screen takes time. Stage does it before you build.
Try Stage free for 14 daysStage analyzes the best designs and competitors in your industry, sets a visual direction from your references, and turns it into a strategy and a style guide. Then it exports everything as a brief that Claude Code, Cursor and Codex follow. Stage does the thinking, and your AI does the building.
Part 4 - Make it feel premium: UI Arc and Bklit UI
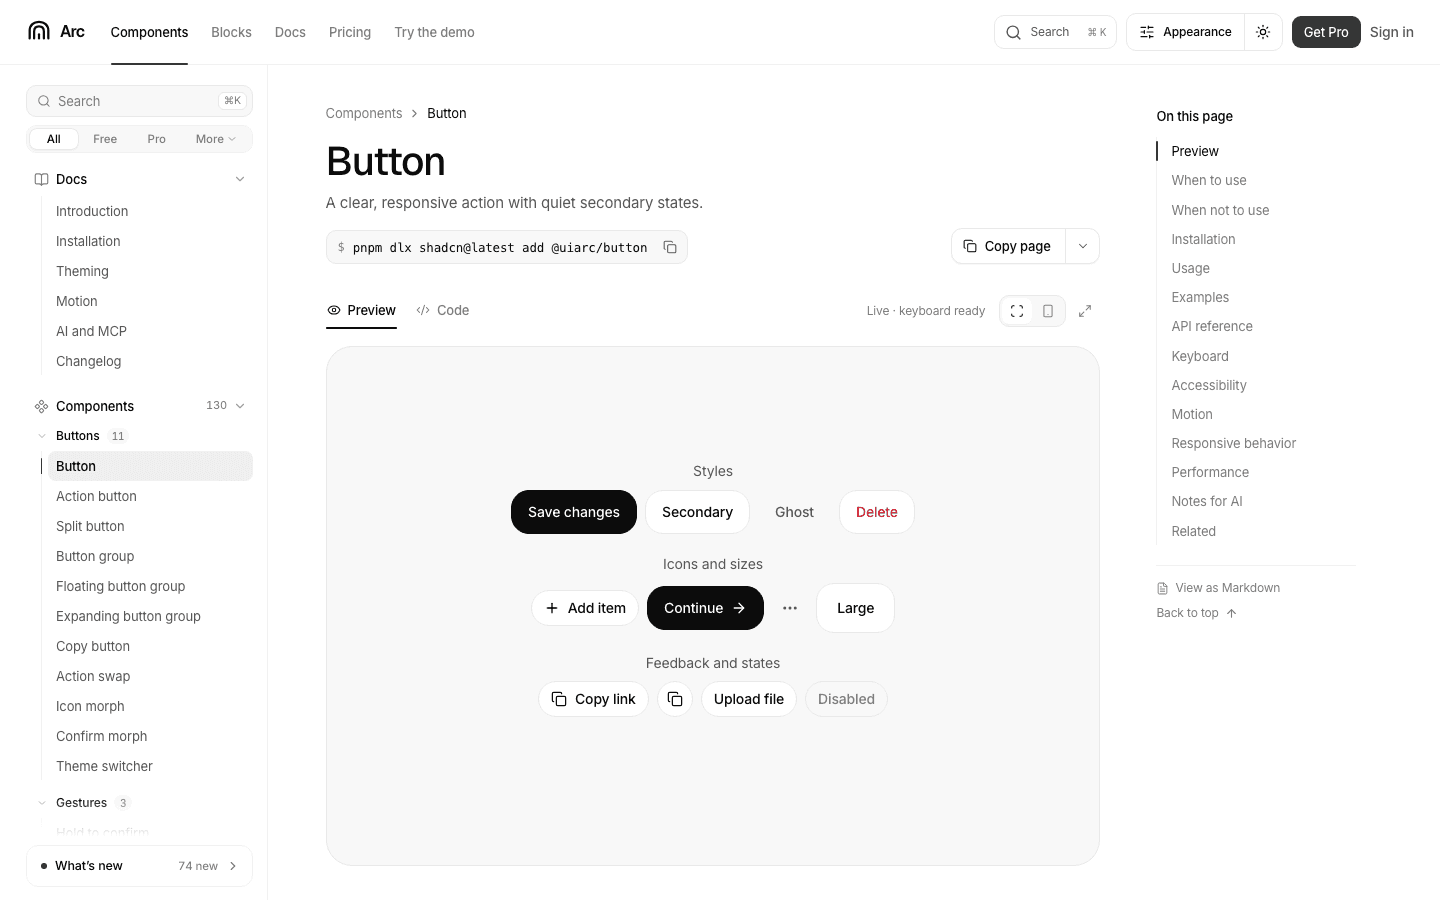
Default components are what make an app feel like a template. Components with real motion and polished states are what make it feel premium.
- 12
Step 12
Add animated components with UI Arc
UI Arc has 235 animated components for React and shadcn, and 120 of them are free. Each one installs with the shadcn command.
Terminalnpx shadcn@latest add @uiarc/button
Swap
buttonfor any component name on the site. If the@uiarcregistry isn't set up yet, the docs show the line to add tocomponents.json.Pricing: the free tier has 120 components and 22 blocks. Pro is $149/year or $249 once.
Browse UI Arc - 13
Step 13
Use designed charts with Bklit UI
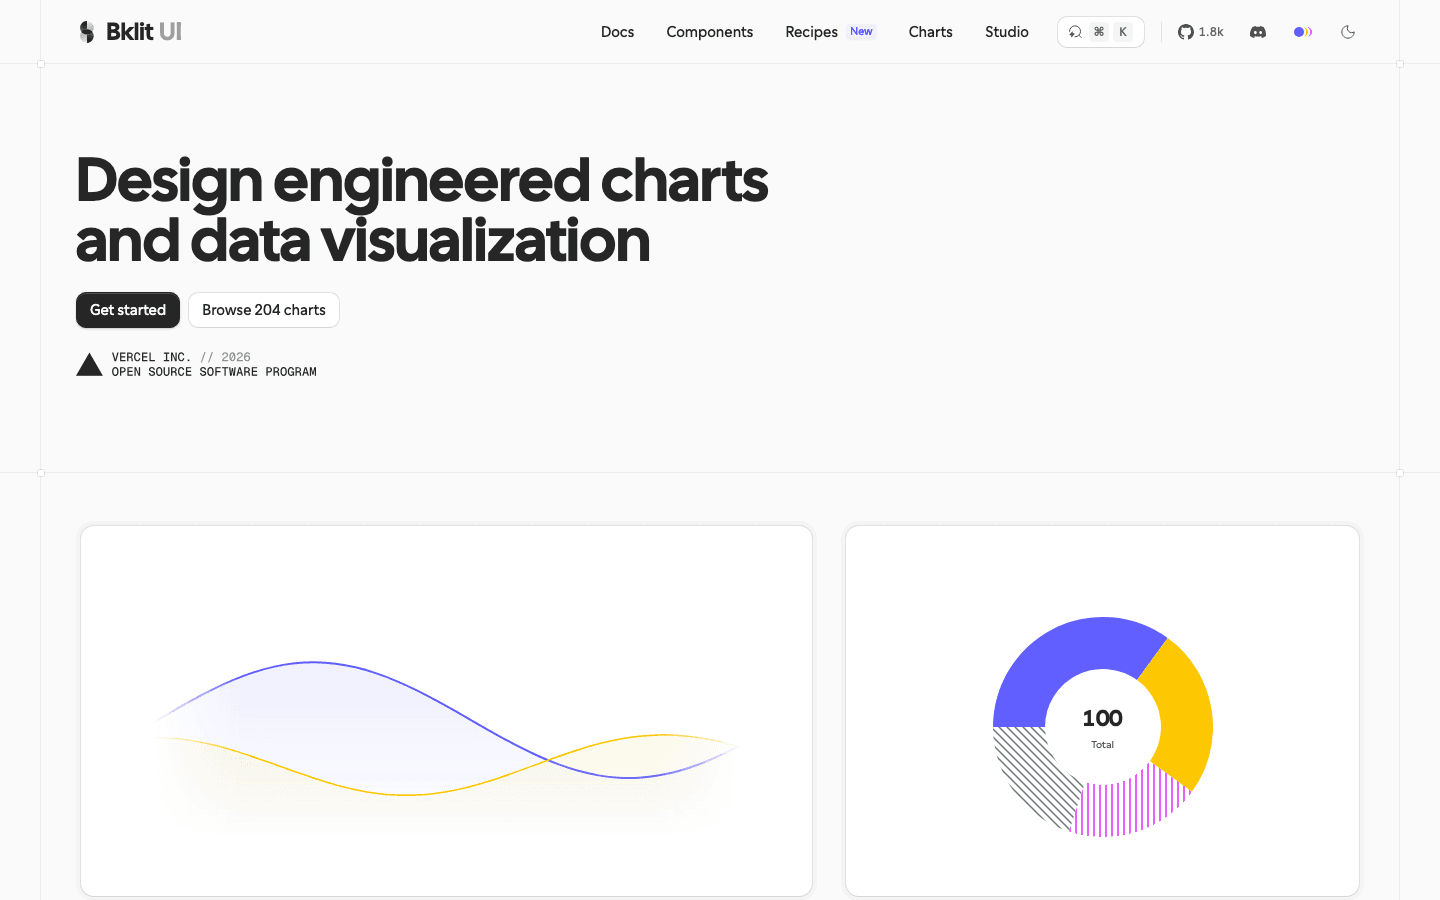
Bklit UI has 200+ charts that look designed, not default. Charts are where most vibe-coded dashboards look cheapest. Bklit UI has more than 200 charts with real design, and they install the same way.
Terminalnpx shadcn@latest add @bklit/area-chart
Pricing: the chart components are free under the MIT license.
Browse Bklit UI - 14
Step 14
Replace the default components
Once a few components are installed, ask your AI to use them everywhere.
mdGo through the app and replace every default button, input, toast and chart with the UI Arc and Bklit components installed in components/ui. Keep the styling consistent with DESIGN.md. Use motion only where it helps the user understand what happened, never just for decoration.
Too much motion feels cheap fast. One animated detail per screen is usually enough.
Part 5 - Make it unique with custom assets: Limora AI
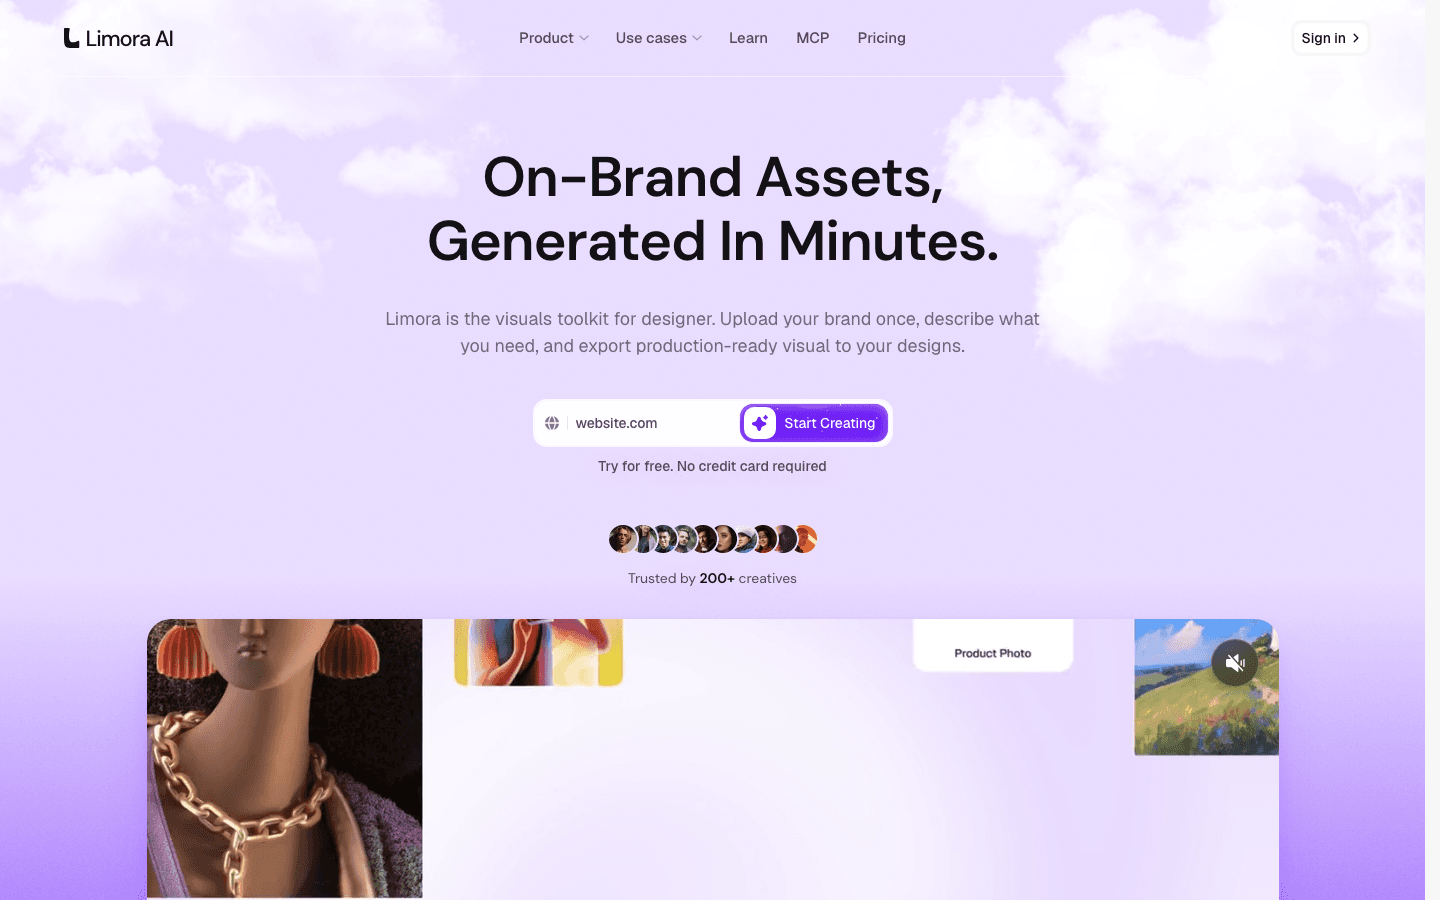
Every app can use the same components and the same code. Your own images, icons and illustrations are what make the design feel like yours.
- 15
Step 15
Create a project from your brand
Sign up to Limora AI and paste your website or app URL. It pulls your logo, colors and fonts into a brand kit.
Every asset you generate in that project follows the brand kit automatically.
- 16
Step 16
Pick one style and generate every asset in it
Choose one style for the whole app, then generate what it needs: empty-state illustrations, an icon set, onboarding visuals and a hero image.
Keeping one style everywhere is what makes the assets look like a system instead of random images.
Replace every emoji your AI used as an icon. That single change removes a lot of the AI look.
- 17
Step 17
Generate assets straight from your coding tool
Connect the Limora AI MCP to Claude Code, Cursor or Codex. Your AI can then generate the assets it needs and place them in the app itself.
mdFind every placeholder image, gray box and emoji used as an icon in the app. For each one, generate a replacement with Limora AI in my project's style, save it in public/assets, and put it in place.
Try Limora AI for freeLimora AI turns Level 5 into one prompt. It knows your brand, keeps every asset in the same style, and works from inside your coding tool, so your app gets custom visuals without opening a design tool.
Tips
- Work through the levels in order, because each one makes the next one work better.
- Commit your code before each level, so you can undo a change you don't like.
- Compare your app with a reference side by side after each level, and fix the biggest difference first.
- Keep DESIGN.md up to date whenever you change a color or a font, or the screens will drift apart again.