
AI Images to Code Animations
Nov 1, 2026 · 14 steps
What you need
- Limora AI to generate the illustration, vectorize it, animate it and save it as a style. Starter is $29/mo and Pro is $59/mo, and both come with a free trial with no credit card.
- One reference illustration whose style you like, saved as an image on your computer.
- Claude Code, Codex, Cursor or Claude if you want to drop the animation into your project, or run the whole workflow by chat through the Limora AI MCP.
Part 1 - Generate the illustration: Limora AI
- 1
Step 1
Pick a style reference
Find one illustration that has the look you want, for example the animations in a delivery app, a finance app or an onboarding screen.
Flat illustrations with clear outlines and a few solid colors work best. They turn into clean vector shapes in Part 2.
Avoid references with gradients, grain or heavy shading. They turn into hundreds of tiny shapes when you vectorize them.
- 2
Step 2
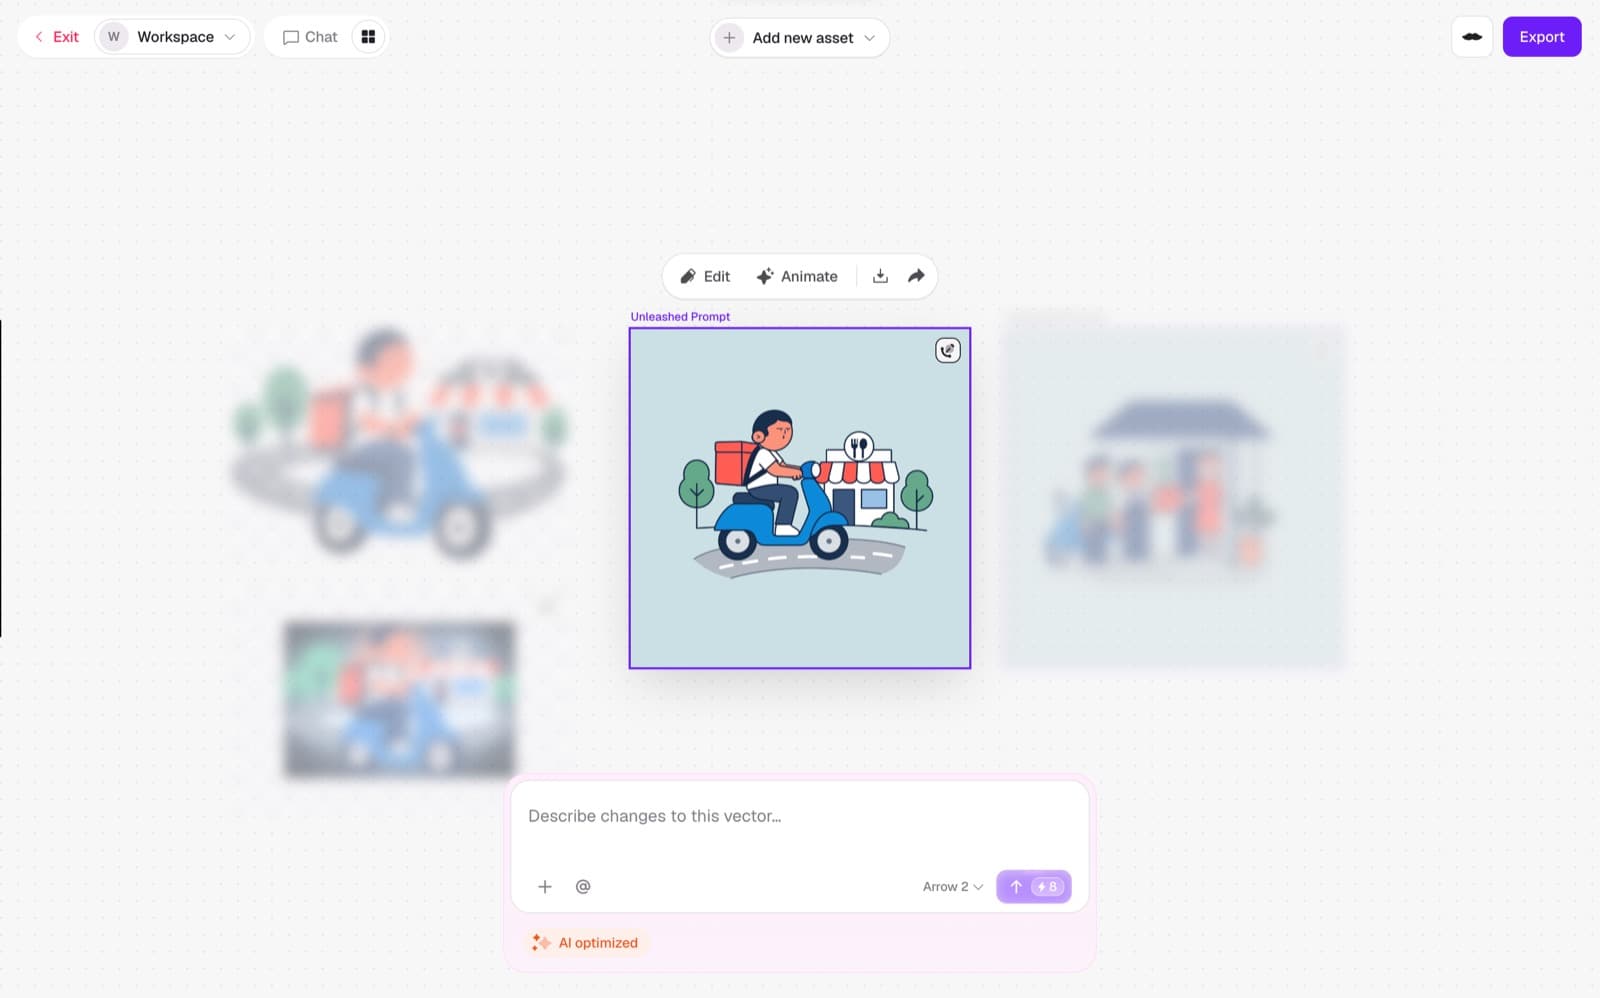
Generate the image first
Start with an image, not a vector. Images are faster to generate, so you can try many versions until one feels right. New sign-ups get unlimited GPT Image 2.5 generations, so iterating costs nothing.
Upload your reference in the prompt box, then paste this prompt and swap the parts in brackets:
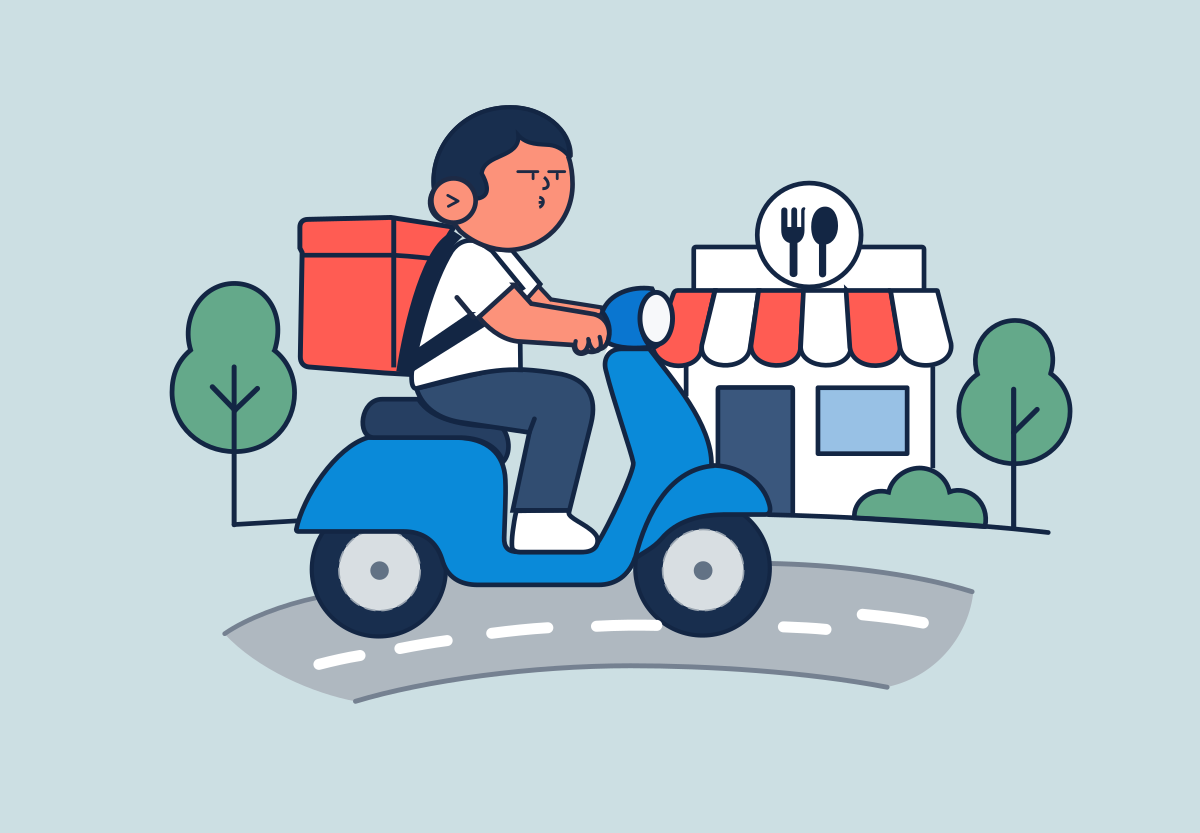
mdUsing the uploaded image as the style reference, create a new illustration in exactly the same style: the same line weight, color palette, shape language, level of detail and overall mood. Keep the reference's style, but change the subject to [a delivery driver on a scooter carrying a food bag, riding along a short curved road with a few small trees and a little restaurant in the background]. Use flat, solid colors with no gradients, no textures, no shading and no text, so the illustration converts cleanly to vector. Keep each element ([the driver, the scooter, the wheels, the food bag, the trees, the restaurant]) clearly separated. Center the scene on a plain background with generous empty space around it.
"Keep the style, but change the subject" is the key line. Without it, the model often redraws your reference instead of making something new.
- 3
Step 3
Keep the background on
Do not turn on the transparent background option for this first image.
Generate it on a normal plain background. You can still remove the background later, in Part 3, once the illustration is a vector.
Leave transparent background off for the first generation. Turn it into a vector first, then decide what to do with the background.
Part 2 - Turn it into an SVG: Vectorize
- 4
Step 4
Click Vectorize
When you like the image, click Vectorize. Limora AI turns it into an SVG.
An SVG is made of real shapes instead of pixels. Every part of the illustration becomes its own layer, it stays sharp at any size, and it can be animated with code.
This is why the prompt asks for flat colors and separated elements. The cleaner the image, the cleaner the layers you get.
Part 3 - Clean up the layers
- 5
Step 5
Merge near-duplicate colors
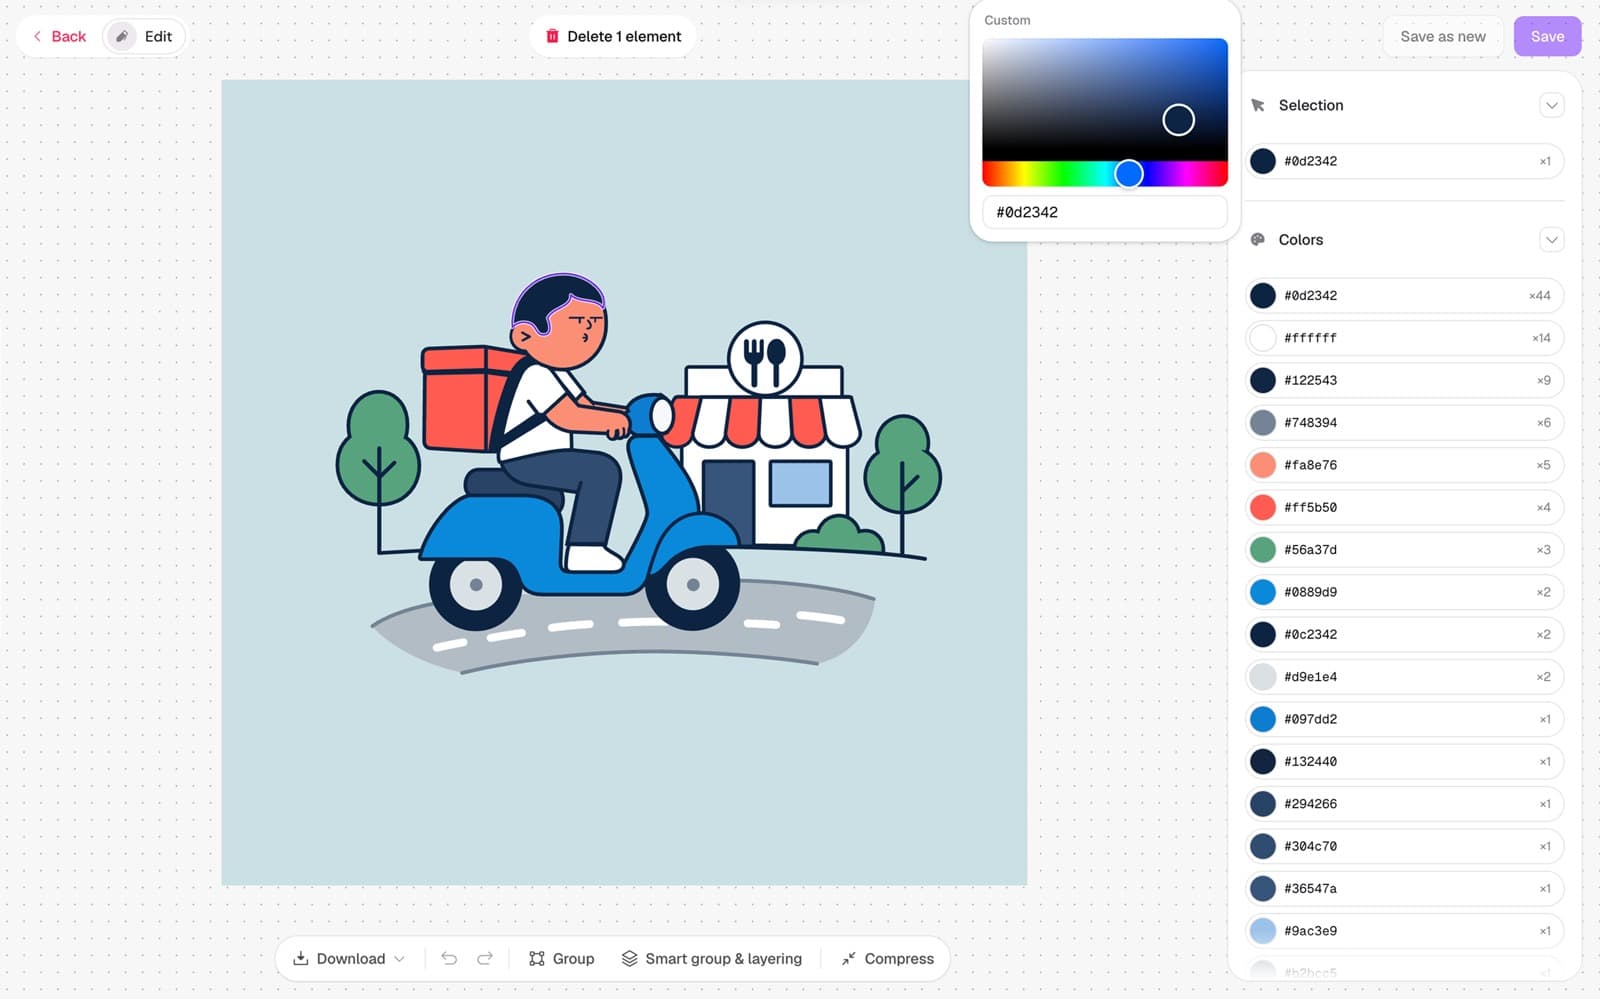
Open the Colors panel. Vectorizing often creates several colors that are almost the same, like three slightly different dark navies or three greys.
Merge each group into one color. The SVG gets lighter, and changing a color later takes one click instead of three.
Aim for 6 to 10 colors. The scooter example started with 20, and most of them were near-duplicates.
- 6
Step 6
Fix the small details
Because every shape is its own layer, you can fix details the image model got slightly wrong.
Check faces first. An expression that looks grumpy or sleepy changes the whole mood of the animation, and a small smile fixes it. Then check hands, small shapes and any stray lines.
- 7
Step 7
Decide on the background
Keep the background if the animation will sit inside a card or a section with its own color.
Remove it if the animation needs to sit on any app screen or landing page. A background-free SVG blends into whatever is behind it.
Remove the background for product use, and keep it for social posts. It looks better on camera, and it blends better in a real interface.
Part 4 - Bring it to life: Animate
- 8
Step 8
Click Animate and describe the motion
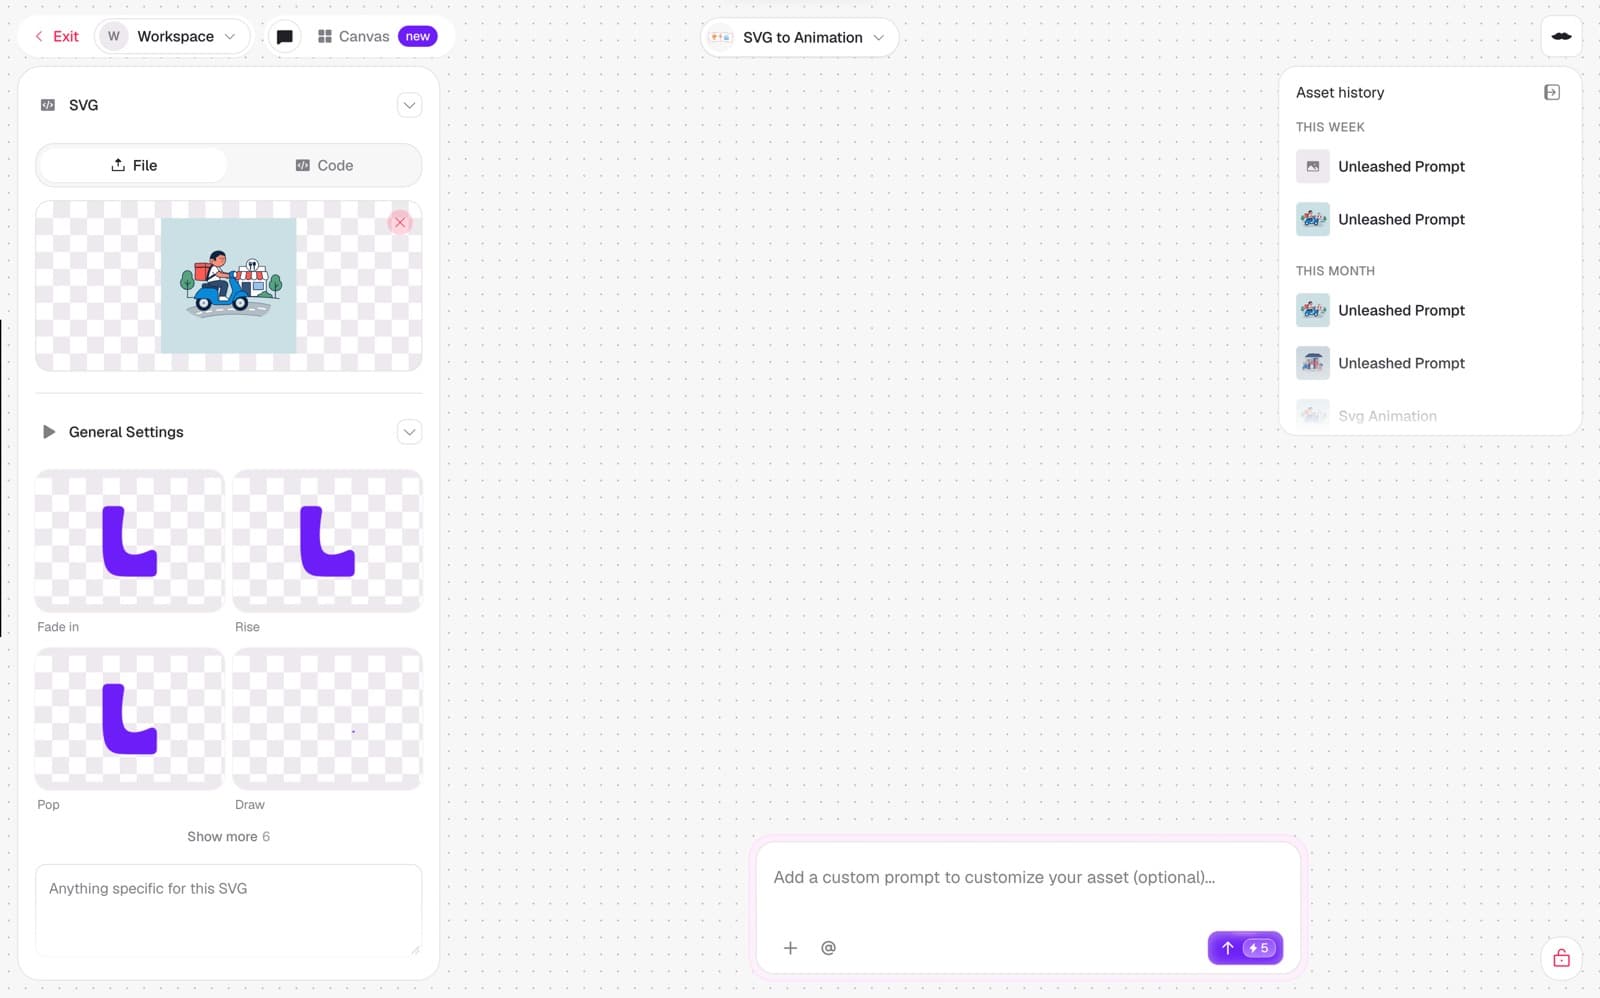
Click Animate. For a quick result, pick one of the presets, like Fade in, Rise, Pop or Draw.
For a real loop, describe how each part should move in the prompt box. The more specific you are about each element, the better the loop looks. Here is the prompt for the scooter example:
mdAnimate this as a seamless loop: [the wheels spin, the scooter and rider bob up and down slightly like driving on a bumpy road, the white road dashes scroll from right to left to show forward motion, the food box bounces a little with a small delay after the scooter, and the trees sway gently]. Keep [the restaurant] still. Smooth, playful motion, about 2 seconds per loop.
Keep one element still. A fixed point, like a building, makes everything around it read as movement.
- 9
Step 9
Hand the code to your AI
The animation comes out as code, not as a video file. It stays sharp on any screen, it loads fast, and you can change it later.
Copy the code and give it to Claude Code, Codex or Cursor with this prompt:
mdAdd this animated SVG to [the empty state of my orders page / the hero section / the loading screen]. Keep the animation code exactly as it is. Make it responsive, center it, and limit its width to [320px] on mobile. [paste the animation code here]
Part 5 - Make every next one match: Styles
- 10
Step 10
Save a style from your illustration
Once you like the result, create a style from it. Limora AI saves the look of your illustration: the colors, the outlines and the level of detail.
From now on, every illustration you generate with that style looks like it came from the same designer.
- 11
Step 11
Or copy my style
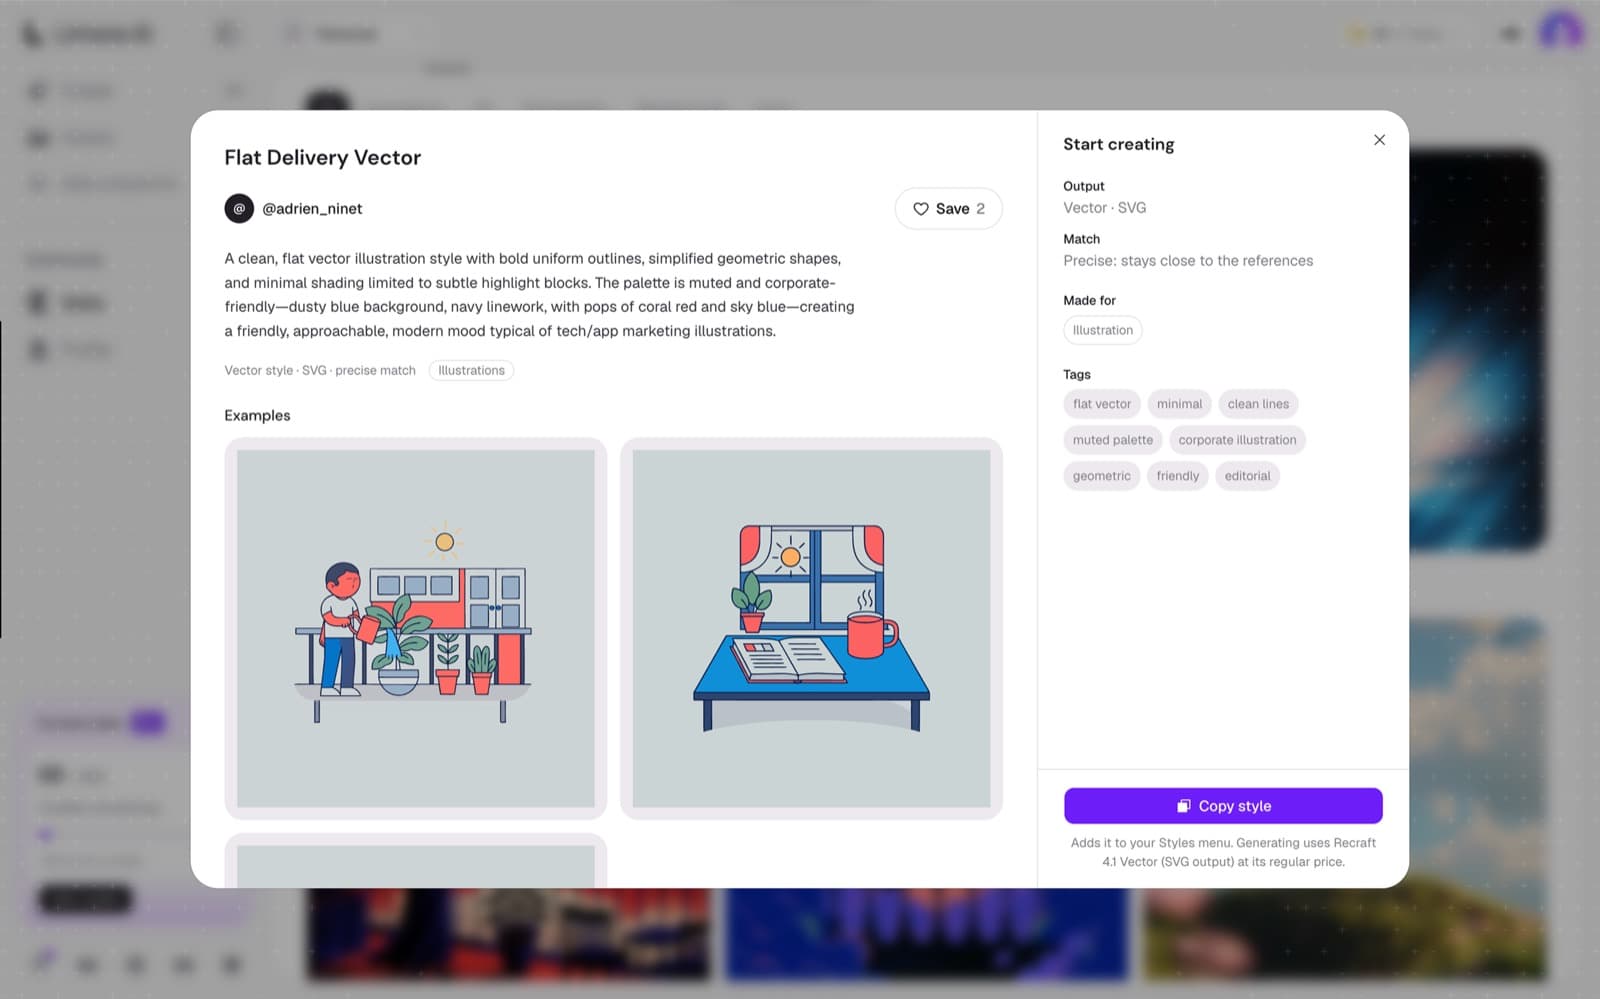
The style from this guide is public. Search for Flat Delivery Vector in the Limora AI styles, then click Copy style to add it to your Styles menu.
It outputs SVG directly, so new illustrations skip the Vectorize step.
Start from a copied style, then make your own. It is the fastest way to see how much consistency a style gives you.
- 12
Step 12
Prompt only the scene
With a style selected, describe only what is in the scene. The style already handles the look, and style words in the prompt can conflict with it.
Here is the follow-up prompt from the scooter example:
md[A delivery driver standing at the front door of a small house, smiling and handing a red food delivery box to a happy customer. The scooter is parked behind the driver, with a potted plant and a doormat by the door.] Centered composition with generous empty space around the scene, each element clearly separated, no text.
Reuse the same characters and objects. The same driver and the same red box across every scene show the consistency much better than a new setting.
Part 6 - Do it all from your AI: Limora AI MCP
- 13
Step 13
Connect the MCP
The Limora AI MCP lets your AI tool use Limora AI directly. It works with Claude, Claude Code, Codex and Cursor.
Log in to Limora AI and open the MCP connection. Pick your tool, and copy the setup Limora AI gives you for it. Each tool connects slightly differently, so always use the setup for the tool you actually use.
- 14
Step 14
Run the same workflow by chat
Once it is connected, you can ask your AI to run every step for you, then drop the result straight into your code.
mdUse Limora AI to generate a flat illustration of [your subject] in my [style name] style. Vectorize it, and animate it as a seamless loop where [describe the motion]. Then add the animated SVG to [the page or component] in this project.
Check the image before you animate. Ask your AI to show you the generated image first, so you only animate a version you like.
Limora AI does the whole workflow in one place. Generate, vectorize, edit, animate and save the style without switching tools.
Tips
- Look for animation ideas in the apps you already open every day, like delivery, banking and travel apps.
- Generate several images before you vectorize, because fixing a bad image later takes longer than generating a new one.
- Keep loops around 2 seconds, so they feel alive without distracting from the page.
- Save a style as soon as you have one illustration you love, so the whole set matches from the start.