
Pre-Launch Security Checklist
Nov 5, 2026 · 12 steps
In October 2026, an attacker got into Railway, a hosting platform many people use to put their apps online. Railway says about 100,000 workspaces had secret keys potentially compromised.
That same year, a study of 200 live apps built with AI found that 91% had at least one security hole. Most of those holes were rated critical or high.
You do not need to stop building with AI, and you do not need a computer science degree. You need a few habits and one extra step before you launch: ask your AI to attack your app.
This checklist is that step. Work through it in order. It takes about an hour on a small app, and every prompt and command is ready to copy.
What you need
- Gitleaks to find secret keys in your project. It is free and open source.
- Stripe if your app takes payments. There is no monthly fee, and a US card payment costs 2.9% + 30¢.
- Supabase if it is your database. The free plan includes 2 active projects, and Pro starts at $25 per month.
- Vercel if it hosts your app. The Hobby plan is free for personal, non-commercial use, and Pro is $20 per month.
- Claude Code to review and fix your code. It needs a paid Claude plan, starting with Pro at $20 per month. The prompts below also work in other coding agents.
Skip the steps for any service you do not use. If you host or store data somewhere else, the same ideas still apply.
Part 1 - Keep secret keys out of your code: Gitleaks
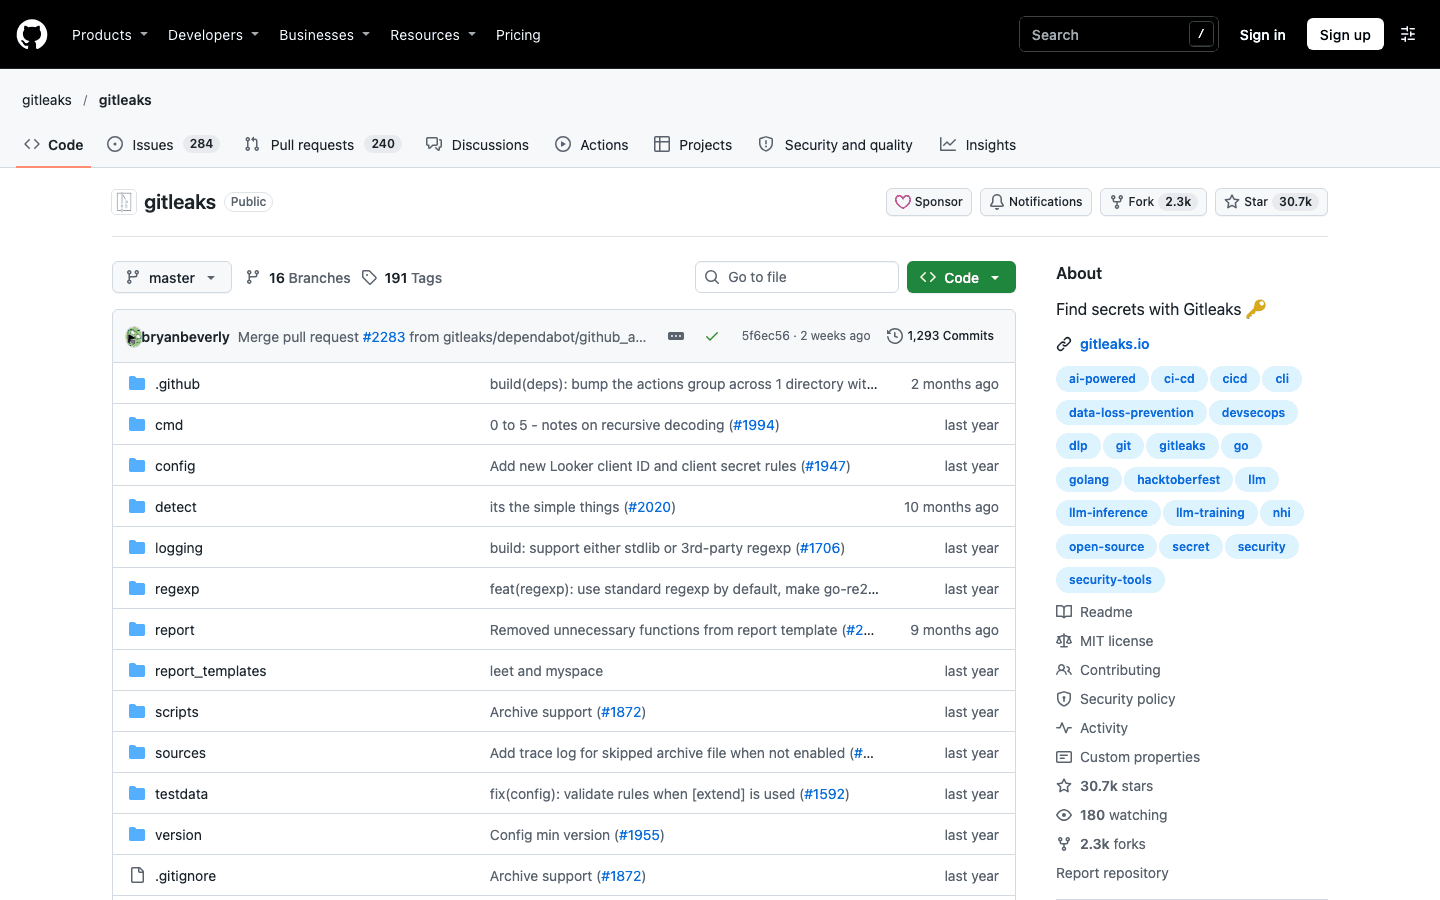
A secret key works like a password for your app. It can take payments, read your database or spend your AI credits, so it should never sit in your code.
- 1
Step 1
Scan your project and its git history
Install Gitleaks and run it inside your project folder. The first scan checks your git history, because a key you deleted last month still lives in your old commits.
Terminalbrew install gitleaks gitleaks git -v
The second scan checks your current files, including the ones you have not committed yet.
Terminalgitleaks dir -v .
brewis for Mac. The Gitleaks repo lists the other ways to install it. If you get a finding on a file you trust, check it yourself before you dismiss it. - 2
Step 2
Move every key into environment variables
An environment variable keeps a value outside your code. Your app reads it when it runs, so the key never lands in your repository.
Paste this prompt into your coding agent to find and move every key.
mdSearch this whole project for hardcoded secrets: API keys, tokens, database URLs, passwords and webhook secrets. For each one: 1. Tell me the file and line. Do not print the full secret in the chat. 2. Move it to an environment variable with a clear name. 3. Update the code to read that variable. Then make sure `.env` and `.env.local` are listed in `.gitignore`, and create a `.env.example` file with the variable names and no real values. Finish with the list of variables I need to set on my hosting provider.
Never paste a real key into a chat with your AI. Put it in your
.envfile yourself. - 3
Step 3
Make sure no secret reaches the browser
Some variables are public by design. In Next.js, any variable that starts with
NEXT_PUBLIC_is written into the JavaScript your visitors download. Vite does the same withVITE_.Anyone can read that code in their browser. So a secret key with one of those prefixes is a public key.
mdList every environment variable that reaches the browser in this project, including any with a NEXT_PUBLIC_ or VITE_ prefix. For each one, tell me if it is safe to expose and why. If a secret reaches the browser, move that logic to a server route so the key stays on the server. Show me the changes before you make them.
The rule is simple. Anything that runs in the browser is public, so secrets only live on the server.
- 4
Step 4
Replace any key that ever leaked
Deleting a leaked key from your code is not enough. It stays in your git history, and anyone who copied it can still use it.
Go to the service that issued the key, create a new one and revoke the old one. Then update the value on your hosting provider and redeploy.
Treat any key that was ever pushed to GitHub as leaked, even if the repository was private.
Part 2 - Separate test keys from live keys: Stripe and Vercel
Your live keys touch real money and real user data. Keeping them apart from your test setup means a mistake during development stays harmless.
- 5
Step 5
Keep live keys in Production only
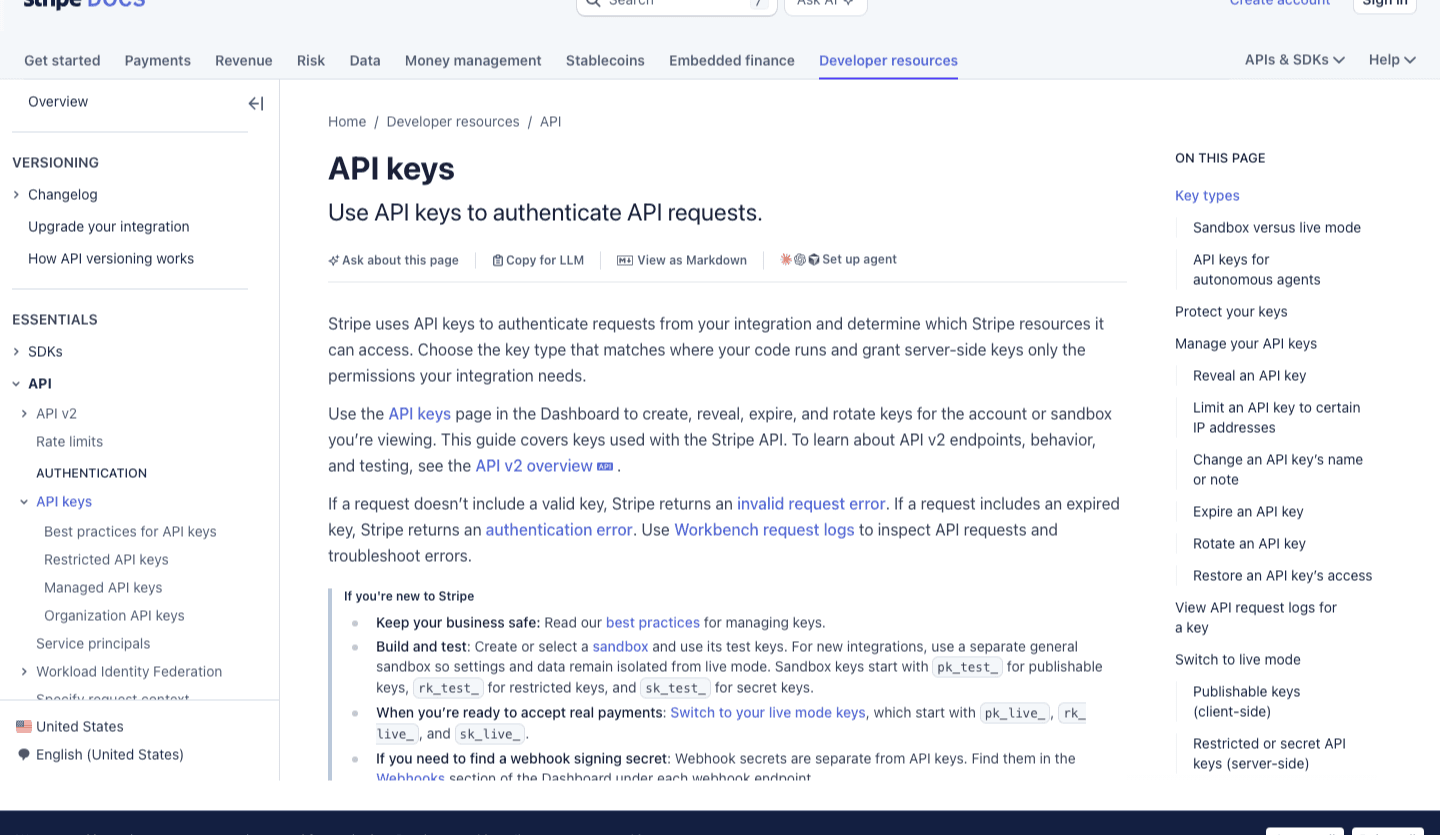
Stripe gives you a separate set of keys for testing. Sandbox keys contain
_test_, and live keys contain_live_.On Vercel, each variable can be limited to Production, Preview or Development. Put your live keys on Production only, and use test keys everywhere else.
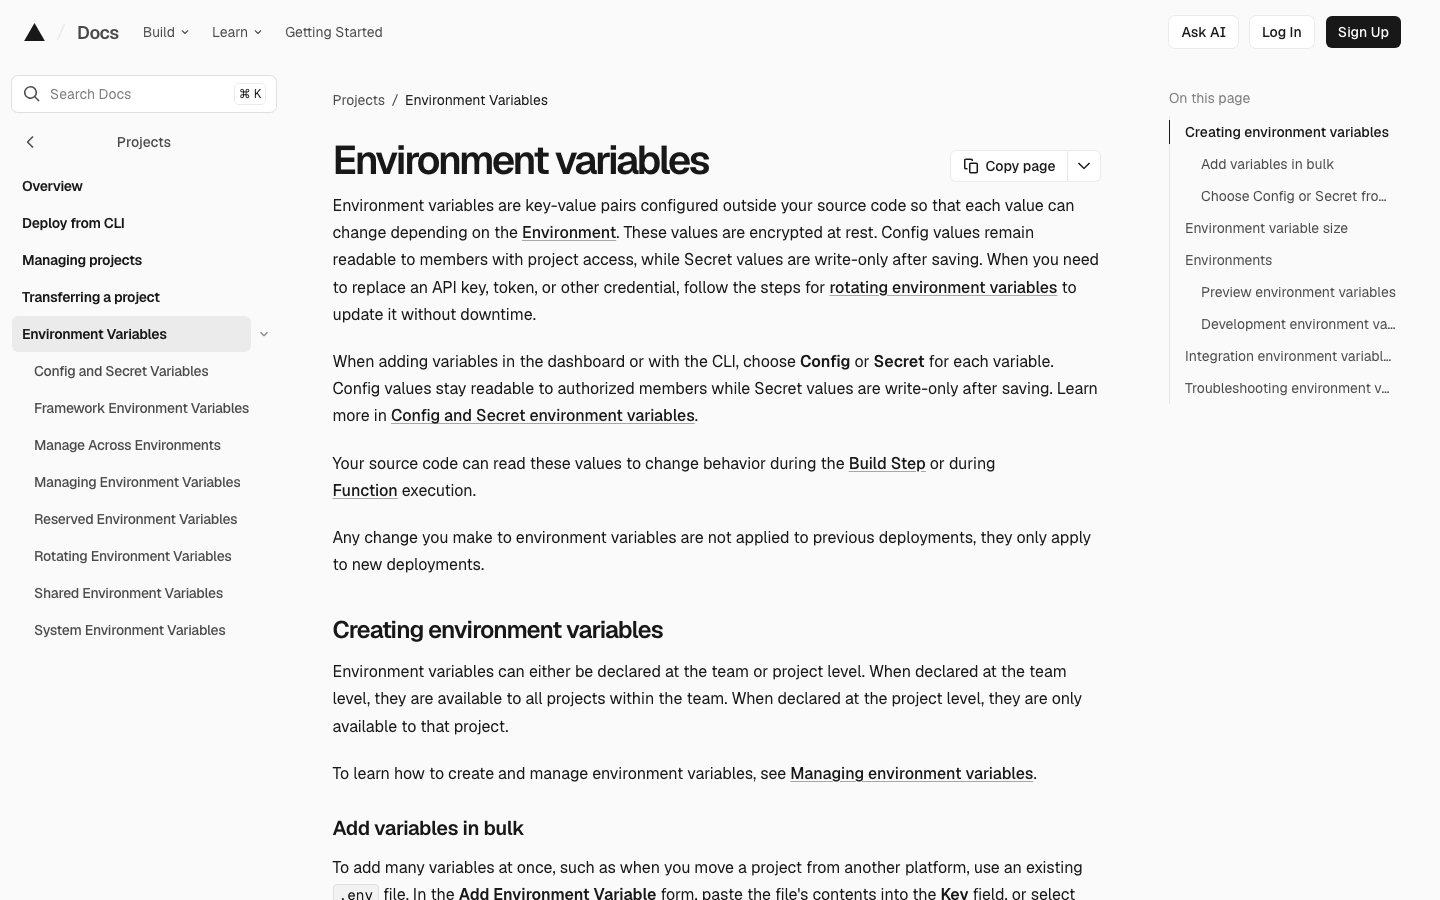
Vercel can mark a value as Secret, which makes it write-only after saving. Mark sensitive values as Secret when you add them, so nobody can read them back later.
Changes to environment variables only apply to new deployments. Redeploy after you change one.
- 6
Step 6
Give each key only the access it needs
A Stripe secret key has unrestricted access to every Stripe API. If it leaks, an attacker gets all of that access too.
Stripe recommends restricted keys for most use cases. You choose what each one can do, so a leaked key can do far less damage.
The publishable key that starts with
pk_is the only Stripe key that is safe to expose. Keep every other key on the server.Apply this to every service. If a tool lets you limit a key, limit it to the smallest access your app needs.
Part 3 - Lock your database: Supabase
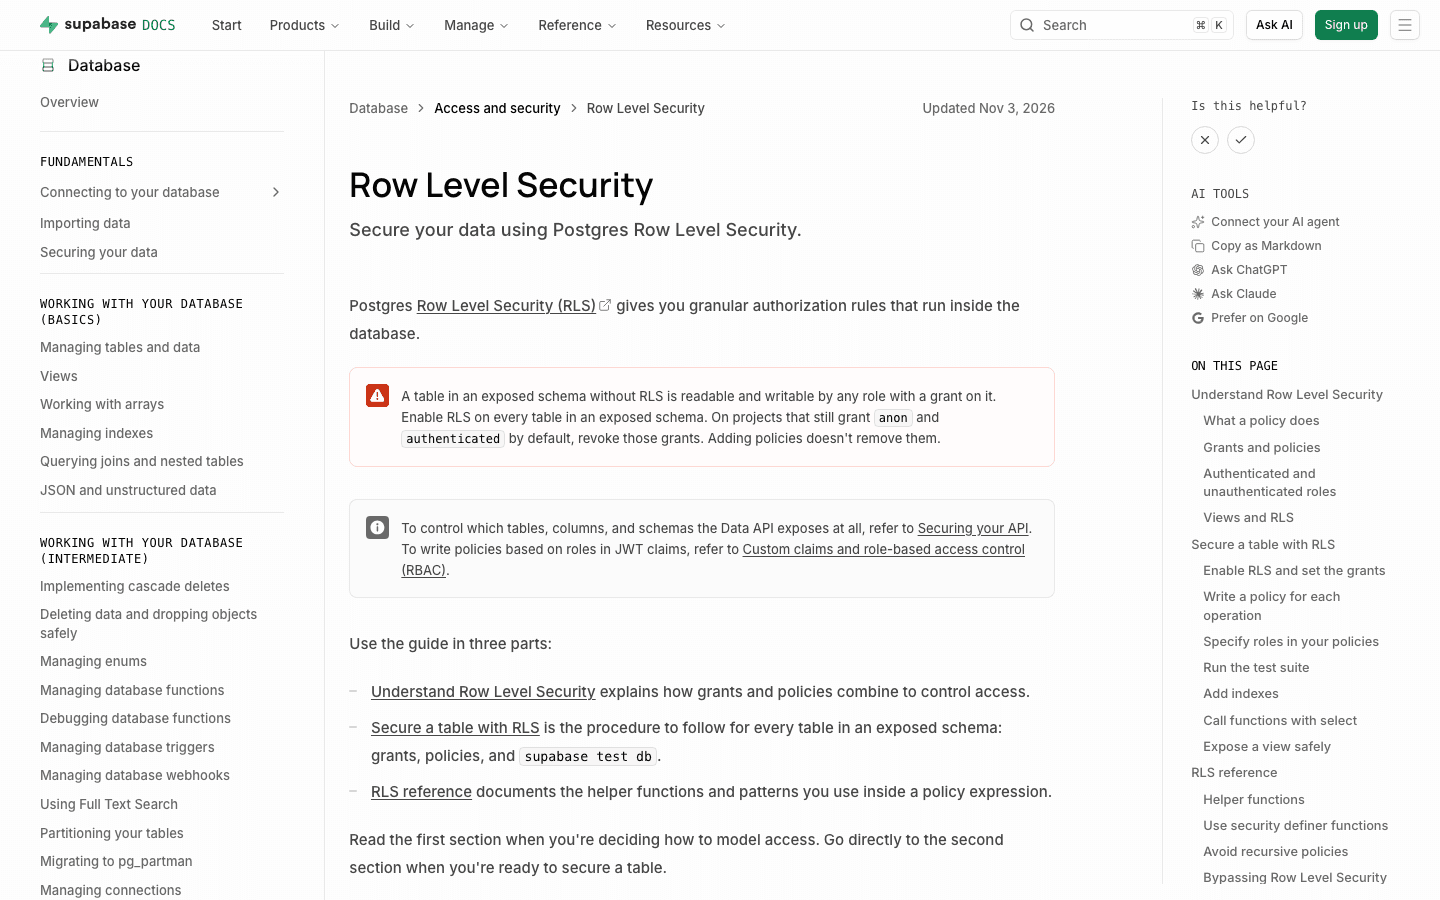
Broken access control means one user can reach data that belongs to someone else. It was one of the most common problems in the study, and in Supabase the main fix is Row Level Security.
- 7
Step 7
Turn on Row Level Security for every table
Row Level Security, or RLS, sets rules inside your database for who can read and change each row. Supabase warns that a table in an exposed schema without RLS is readable and writable by any role with a grant on it.
Ask your agent to check every table and write the rules.
mdReview my Supabase database for this app. 1. List every table in the public schema and say if Row Level Security is on. 2. Turn it on for every table that does not have it. 3. For each table, write policies so users can only read and change their own rows. Explain each policy in one plain sentence. 4. Flag any policy that uses `true` or lets anonymous users write data. 5. Check that the anon role has no grants it does not need, because adding policies does not take grants back. Give me the SQL as a migration and let me review it before you run it.
Test it with two accounts. Log in as user A and try to open a page or record that belongs to user B.
- 8
Step 8
Keep the secret key on the server
Supabase gives you two kinds of keys. The publishable key is safe in your website or app, because RLS still protects your data.
The secret key bypasses RLS and has full access to your project's data. It should only live on your server, and never in your browser code or your repository.
Older projects call these the
anonkey and theservice_rolekey. Theservice_rolekey is the secret one.
Part 4 - Ask your AI to attack your app: Claude Code
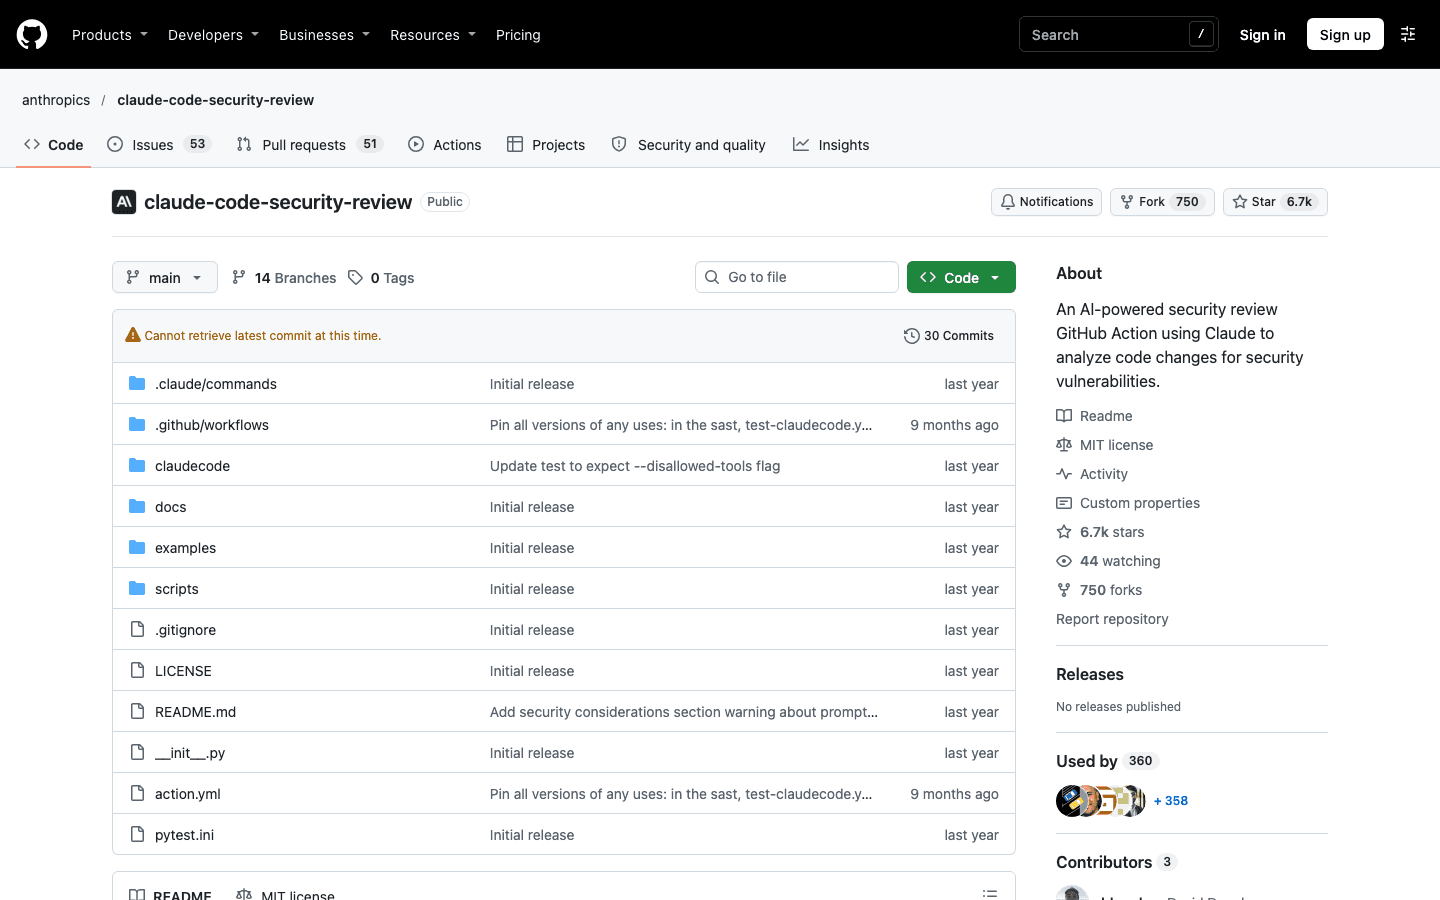
The AI that built your app can also look for its weak spots. Most people never ask it to, and this is the step that makes the biggest difference.
- 9
Step 9
Run /security-review on your changes
Claude Code has a built-in command that reviews your pending changes for security problems. It looks for issues like injection, weak authentication, exposed data and hardcoded secrets.
Terminal/security-review
Run it before every commit that touches login, payments or user data.
This command only checks your pending changes. The prompt in the next step covers the whole app.
- 10
Step 10
Paste the full attack prompt
This prompt asks your AI to read your code the way an attacker would. It focuses on the three areas where the study found most of the holes: access control, injection and authentication.
mdAct as a security engineer who has been hired to break into this app before it launches. This is my own app. Review the code only. Do not send requests to the live site and do not change anything yet. Go through the whole project and look for ways to: 1. Access control: read or change another user's data by changing an ID, skipping the UI or calling an API route directly. Check that every route verifies who the user is and what they own. 2. Authentication: log in as someone else, skip login, reuse a session, reset another person's password or become an admin. 3. Injection: get unsafe input into a database query, a shell command, a file path, a page (XSS) or an AI prompt. 4. Payments: get a paid feature for free, change a price from the browser or fake a webhook. Check that webhooks verify their signature. 5. Abuse: spam any endpoint that costs me money, like AI calls, emails or file uploads. Check for rate limits. 6. File uploads: upload something unsafe or read files that belong to someone else. 7. Secrets: find any key in the code, the browser bundle, logs or error messages. 8. Dependencies: find packages with known vulnerabilities. Run the audit command for this project. For each problem, give me: - The severity: critical, high, medium or low - The file and line - How an attacker would use it, in plain English - The fix Sort the list by severity. Say clearly which areas you could not check. Then wait for me to choose what to fix.
Start a fresh chat for this prompt. A new session reads your code as a stranger would, instead of defending what it just built.
- 11
Step 11
Fix what it finds, then run it again
Fix every critical and high problem before you launch. Do them one at a time, so you can check that each fix did not break anything.
mdFix the critical and high problems from your review, one at a time, starting with the most severe. For each fix: 1. Explain what you are changing in plain English. 2. Make the change. 3. Add a test that proves the attack no longer works. Stop after each fix so I can check the app still works.
Then run the attack prompt again in a new chat. A fix can open a new problem, so the second pass matters.
A clean report lowers your risk, but it is not a guarantee. If your app holds payments, health data or other sensitive information, pay a security professional to review it too.
Part 5 - If your hosting provider gets hacked
You can do everything right and still get caught by a breach at a service you use. A short plan turns that into an hour of work instead of a crisis.
- 12
Step 12
Replace your keys, then check your logs
Railway told its users to replace every key they stored there and to review their logs for unusual activity. Use the same order for any provider.
Keep this list ready before you need it. Your
.env.examplefile from Part 1 is a good start.mdRead my .env.example file and this project's code. Write a key rotation plan for this app. For each key: 1. Name the service that issued it. 2. Link to the page where I create a new key and revoke the old one. 3. Say what breaks while I swap it, and the safest order to do it in. Then list the logs I should check for unusual activity, including GitHub audit logs, my database logs and my payment provider.
Then replace every key, starting with payments and your database. Check your logs, and watch your AI and cloud bills for usage you do not recognize.
Stripe keeps the old and new keys working for up to 7 days during a dashboard rotation, so you can swap them without downtime.
Tips
- Run the attack prompt before every big launch, because each new feature can open a new hole.
- Add a Gitleaks scan to your routine before you push, since it is much easier to stop a leak than to clean one up.
- Set spending limits on your AI and cloud accounts, so a stolen key cannot run up an unlimited bill.
- Keep your packages updated, because many attacks use old bugs that already have a fix.